

Ice fishing is safe only when the ice is thick enough — and ice thickness changes every day. This guide is the safety pillar for this site: how to check ice, what thickness is safe for what, what to carry, and exactly what to do if you fall through.
Ice thickness — what is safe?
| Ice thickness | Safe for |
|---|---|
| 4 inches | Walking |
| 5–7 inches | ATV / snowmobile |
| 8–12 inches | Car |
| 12+ inches | Truck |
Three rules go with this table, every time: never go alone, check the ice with a spud bar as you walk, and carry ice picks around your neck. No thickness is safe if the ice is new, slushy, or over moving water — always check before you step on.
Ice thickness vs safe load vs freeze time — data chart
All values below are approximate. Safe load is the weight the ice can carry, and freeze time is the approximate number of days of hard freeze (around -10°C / 14°F, still water, no snow cover) it takes new ice to reach that thickness. Snow cover insulates the ice and slows growth; moving water, springs and inlets make ice thinner than the chart says. Always check with a spud bar or an auger — a chart never replaces a measurement.
| Ice thickness | Safe load (approx.) | What it holds | Days of hard freeze to form (approx.) |
|---|---|---|---|
| 2 inches | Stay off | Nothing — too thin | 2 days |
| 4 inches | ~200 lb | 1 person walking | 4 days |
| 5 inches | ~500 lb | Small group walking | 5 days |
| 7 inches | ~1,500 lb | Snowmobile / ATV | 7 days |
| 8 inches | ~2,500 lb | Car / side-by-side | 8 days |
| 12 inches | ~5,000 lb | Light truck | 12 days |
| 15+ inches | ~8,000 lb | Medium truck | 15 days |
How thick does ice need to be?
Short answer: 4 inches of clear, solid ice for one person walking. 5 to 7 inches for a snowmobile or ATV. 8 to 12 inches for a car. 12 inches or more for a truck. Less than 4 inches is never safe to walk on, and no ice is safe over moving water.
Ice strength is not just about thickness — it is about the kind of ice. Clear blue or black ice is the strongest: it forms slowly from the surface down, it is dense, and it can carry the loads in the table above. White ice, sometimes called snow ice, forms when snow melts and refreezes on top of clear ice; it is only about half as strong as clear ice of the same thickness, so 4 inches of white ice is not safe to walk on. Grey or slushy ice is the weakest of all — it is rotting, melting ice, and it can give way under a person’s weight even when it looks thick. When you measure, measure the clear ice only; if the top half of the ice is white, count only the clear half.
Thickness also changes across a single lake. Ice is thickest in the middle of a shallow bay, where the water is still and cold, and thinnest near inlets, outlets, springs, docks, aerators and anywhere water moves. A stream flowing into a lake keeps the ice thin for a long way out. A bridge or a dock piling absorbs heat from the sun and melts the ice around it. Snow insulates the ice and slows freezing, so a lake with a foot of snow on it may have thinner ice than a bare lake in the same cold snap. That is why the table is only a starting point: the ice where you are standing is the only ice that matters, and it has to be measured where you are standing.
The seasonal pattern is simple and it repeats every year. Early in the season, the ice is thin, new and unpredictable — this is when most accidents happen, because the ice looks safe and is not. Mid-season, after weeks of hard freeze, the ice is thick and stable, and this is the best and safest fishing. Late in the season, the ice rots from the top and from the bottom at the same time: the sun melts the surface, the water warms underneath, and the ice can go from 12 inches to unsafe in a week. Never trust late-season ice by its thickness alone — check it every trip, and stop fishing a lake when the edges start to pull away from shore.
The mistakes are all about trusting your eyes instead of a measurement. Walking out because other people are out there is the classic one — their ice may be thicker than yours, or they may be taking a risk you cannot see. Driving on ice because a truck went out yesterday is another: the ice changes every day, and yesterday’s truck does not make today’s ice safe. And standing in a group is a mistake people make without thinking: four people standing together put 800 pounds on one spot, which is twice the safe load for 4-inch ice. Spread out, keep moving, and never gather a group on thin ice.
How do I check ice thickness?
Short answer: Check with a spud bar as you walk out, and measure with an auger or a tape measure once you stop. Drill a hole, hook a tape measure under the ice, and read the thickness. Check every 50 to 100 feet, and check again wherever the ice looks different.
A spud bar is the most important safety tool on the ice, and it costs less than a spool of line. It is a long steel bar with a chisel end, and you use it to test the ice ahead of you as you walk: strike the ice hard, once, in front of your feet. If the bar goes through with one hard strike, the ice is too thin — turn around. If it takes several hard strikes to chip through, the ice is thick enough to walk on. Test every few steps as you walk out, and test again on the way back, because the ice changes during the day. A spud bar also doubles as a rescue tool and as a way to open a hole if your auger fails.
An auger gives you a real measurement. Drill a hole, then measure the ice with a tape measure: hook the tape under the bottom of the ice and read the thickness at the surface. A dedicated ice tape measure has a folding arm that hooks under the ice. Measure in several places — near shore, at your fishing spot, and anywhere the ice looks different — because thickness varies. Write the measurements down if you are checking a lake for the first time, so you know where the thin spots are. And check the colour of the ice in the hole: clear blue ice is strong, white ice is half as strong, and grey ice is rotten.
There are three more checks that cost nothing. First, look at the ice before you step on it: clear ice you can see through is strong; white, grey or slushy ice is weak. Second, listen: ice that cracks and booms is usually thick ice adjusting to temperature — loud booming is normal on a cold night — but ice that cracks under your feet and stays cracked is thin. Third, watch the edges: if the ice at the shoreline is pulling away from the bank or is soft and slushy, the lake is not safe yet, whatever the middle looks like.
Step by step, checking a new lake looks like this. Park and look at the ice from shore. Walk out with your spud bar, testing every few steps. Drill a hole 20 feet out and measure. Drill again at 50 feet, and again at your fishing spot. If any measurement is under 4 inches of clear ice, stop and go back. If the ice is thick enough, set up — but keep the spud bar handy and test again if you move. And check the weather: a warm day or rain can weaken ice fast, and ice that was safe in the morning may not be safe in the afternoon. The mistake is checking once and trusting it all day — ice is a living surface, and it changes while you fish.
What should I carry for safety?
Short answer: Ice picks around your neck, a spud bar in your hand, a throw rope in your sled, a whistle, a phone in a waterproof case, and warm dry clothes in the car. Ice picks are the one item that saves lives — without them, you cannot climb out of a hole.
Ice picks are two short handles with sharp spikes, joined by a cord that hangs around your neck. If you fall through, you drive the picks into the ice and pull yourself out. Without them, the ice edge is too slippery to grip and too weak to hold your weight — most people who fall through without picks cannot get out alone. Wear them every time you are on the ice, not in your pocket or in your sled. Practise using them: lie on the ice at home, or in a safe shallow spot, and pull yourself along with the picks so the motion is familiar before you need it for real.

A spud bar is the second essential. It tests the ice ahead of you as you walk, it opens a hole if your auger fails, and it is a tool you can reach to a person in the water. A throw rope — 50 feet of floating rope in a throw bag — is the third: you throw it to a person in the water from a safe distance, instead of walking up to the hole and falling in yourself. A whistle is small and cheap, and it carries farther than a shout when you are cold and out of breath. A phone in a waterproof case lets you call for help, and a personal locator beacon or a satellite messenger is worth carrying if you fish alone on big lakes.
Clothing is safety gear too. Dress in layers, wear a flotation suit or a life jacket over your clothes if you have one, and wear a belt around your waders so they do not fill with water if you fall in. Keep a complete change of dry clothes, a towel and a blanket in the car — hypothermia sets in fast after a dunking, and the drive home in wet clothes is dangerous. Carry a small first-aid kit, a thermos of something hot, and a hand warmer or two. And the simplest safety item of all: a fishing partner. Never go alone is not a suggestion — it is the rule that saves the most lives, because a partner with a rope can pull you out in a minute, while a person alone with no picks may not get out at all.
The mistakes are about leaving gear behind. Ice picks in the sled instead of around your neck are useless when you are in the water. A spud bar left in the car does not test the ice you are walking on. And no rope means that when your partner falls in, you have nothing to throw them — so you walk up to the hole and fall in too. Pack the safety gear first, before the rods and the tackle, and check it every trip. It weighs almost nothing and it is the difference between a story and a tragedy.
What do I do if I fall through the ice?
Short answer: Do not panic. Turn back toward the way you came in — that ice held you a moment ago. Drive your ice picks into the ice, kick your feet, and pull yourself out flat on your belly. Then roll away from the hole and crawl to safety. Get warm and dry as fast as you can.
The first minute is the hardest. Cold water takes your breath away — you will gasp, and you must fight the urge to inhale water. Keep your head up, control your breathing, and do not thrash. Thrashing wastes energy, breaks more ice and pushes you under. The cold shock passes in about a minute, and then you have 10 to 15 minutes of useful movement before your muscles stop working properly. Use that time calmly and deliberately.
Step by step, getting out looks like this. First, turn around and face the direction you came from — the ice behind you held your weight seconds ago, so it is the strongest ice nearby. Second, drive your ice picks into the ice at the edge of the hole and hold on. Third, kick your feet like you are swimming and pull with the picks at the same time, getting your chest up onto the ice. Fourth, do not stand up — roll onto the ice and stay flat, spreading your weight, then roll or crawl away from the hole for at least 20 feet before you try to stand. Standing up right next to the hole puts all your weight on the weakest ice and you will go through again.
If someone else falls in, do not walk up to the hole — you will fall in too. Shout to them to stay calm. Lie flat on the ice and slide toward them, or throw them the rope, a coat, a fishing rod or a branch — anything they can grab. Pull them out flat, from a distance, and then both of you crawl away from the hole. If you cannot reach them, call 911 immediately and keep talking to them so they stay calm and keep moving. Never go into the water after them unless you are trained and equipped — a second person in the water doubles the emergency.
Once you are out, the emergency is not over — hypothermia is next. Get out of the wind, get the wet clothes off, and get into dry clothes and a blanket. Drink something warm and sweet if you can. Do not drink alcohol — it makes you feel warm while your body gets colder. If the person is shivering, that is good — shivering is the body warming itself. If the shivering stops and the person becomes confused or sleepy, that is a medical emergency: call 911 and keep them warm and awake. And go to a hospital if there is any doubt — cold water can cause heart problems hours later, even if the person feels fine.
Is ice fishing safe for kids?
Short answer: Yes, ice fishing is safe for kids — on thick mid-season ice, with an adult, with life jackets on, and with a shelter or a warm place to go. It is not safe for kids on early-season or late-season ice, or without an adult watching them every minute.
Kids love ice fishing: the hole, the flasher, the fish coming up through the ice — it is the most exciting fishing there is for a child. The safety rules are the same as for adults, with a few additions. A child must wear a life jacket on the ice, without exception, even in a shelter. A child must stay with an adult at all times — never let a child walk off alone on the ice, and never let children play near open holes or at the edge of the ice. Keep the fishing spot small and close to the car, so a cold or tired child can get warm fast.
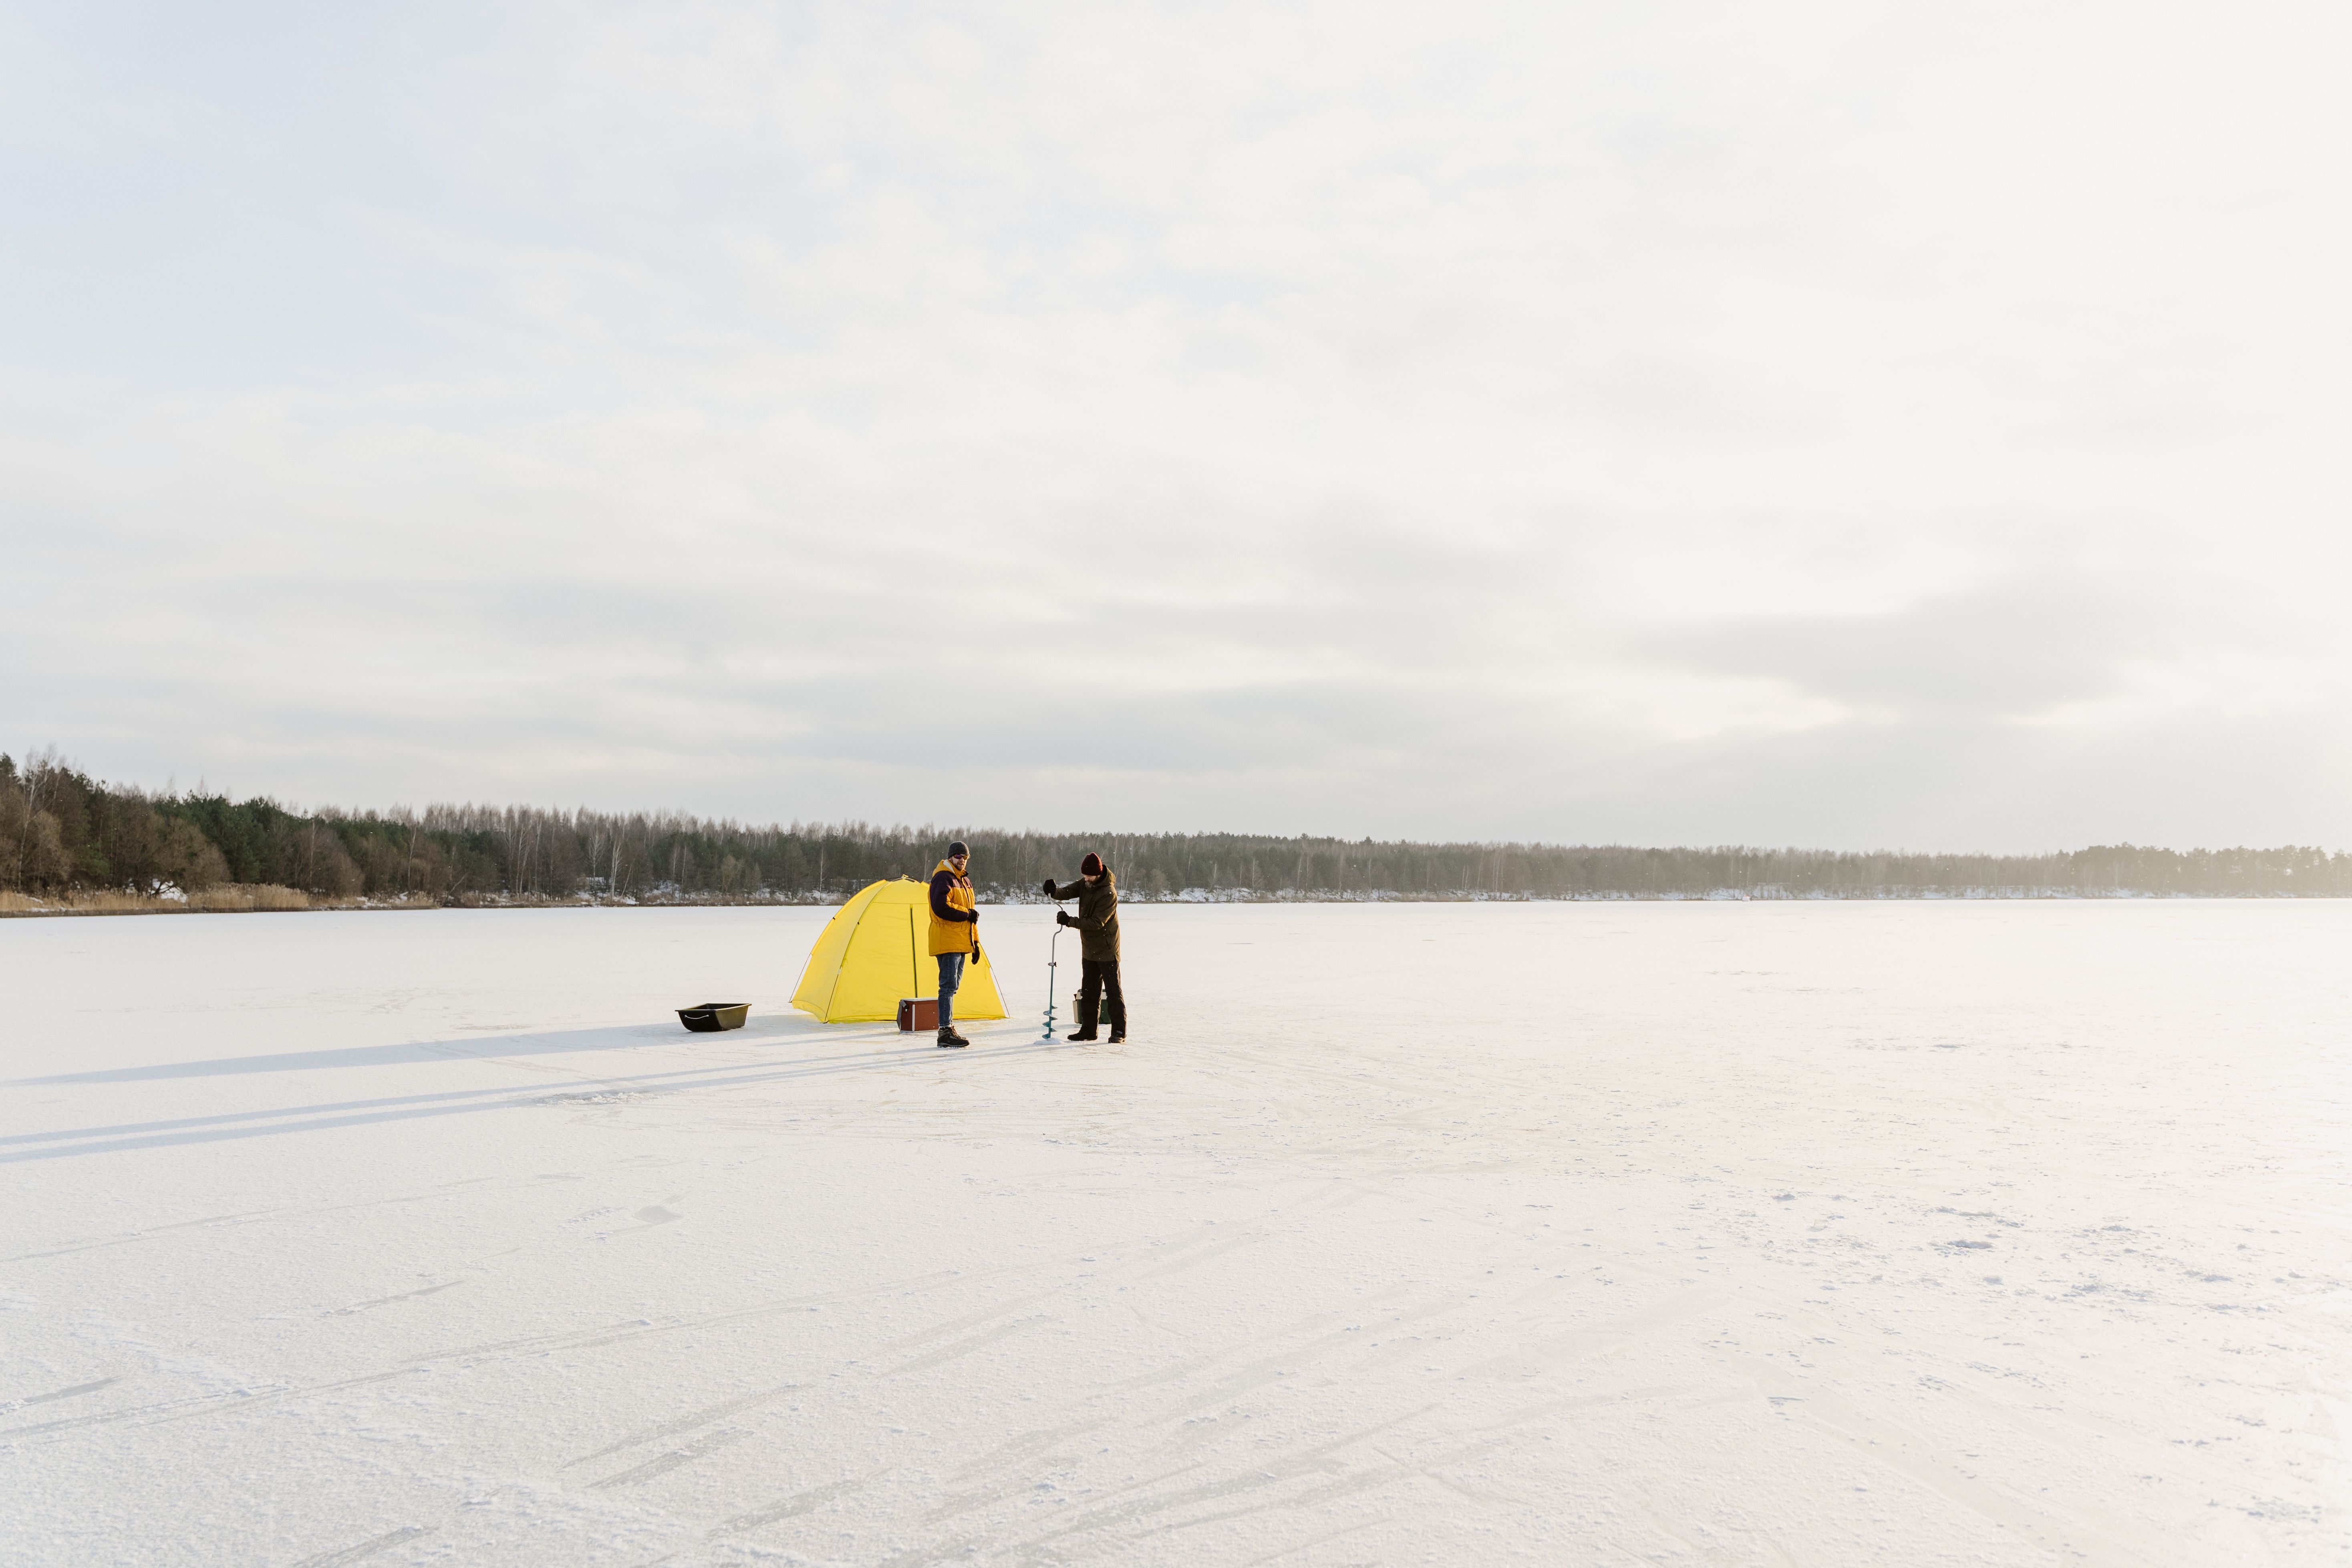
Choose the day and the place for kids, not for fish. Mid-season is the time: the ice is thick, the weather is settled, and the fishing is good. Avoid early-season ice — it is thin and unpredictable — and late-season ice, when the edges are melting. Pick a small lake with a short walk from the car, and fish from a shelter or a pop-up tent, which keeps the wind off and gives kids a warm place to sit. Bring a sled so a tired child can ride back, and bring snacks, hot chocolate and hand warmers — a warm, happy child is a safe child, and a cold, bored child is a child who wanders off.
Teach kids the safety rules as part of the fishing, not as a lecture. Show them how to check ice with a spud bar. Show them the ice picks and explain what they are for. Show them the hole and explain why they must never step near it without looking. Give them a whistle and tell them it is for emergencies only. And set a time limit: two hours is a long day for a young child on the ice, and it is better to leave while they are still having fun than to stay until they are cold and miserable.
The mistakes with kids are all about attention. Turning your back to drill a hole while a child walks off is the one that scares every parent — keep the child in sight, always. Letting a child run on the ice is another — running puts a child’s full weight on one foot, and thin ice breaks under a running child faster than under a walking adult. And staying too long in the cold is the slow mistake: children get cold faster than adults and do not always say so. Watch for shivering, pale skin and quietness — a quiet, shivering child is a cold child, and it is time to go in. Done right, a child’s first ice fishing trip is a memory they keep for life — and the safety rules are what make it a good memory.