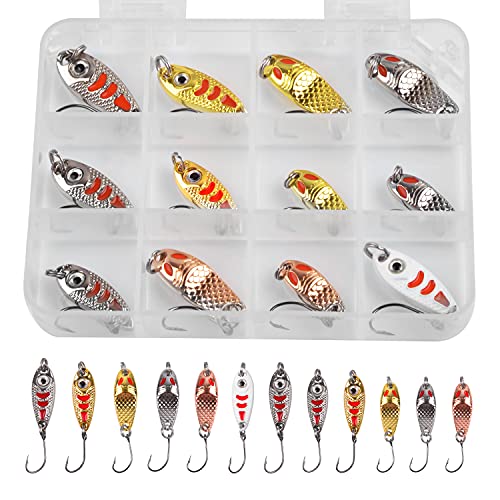
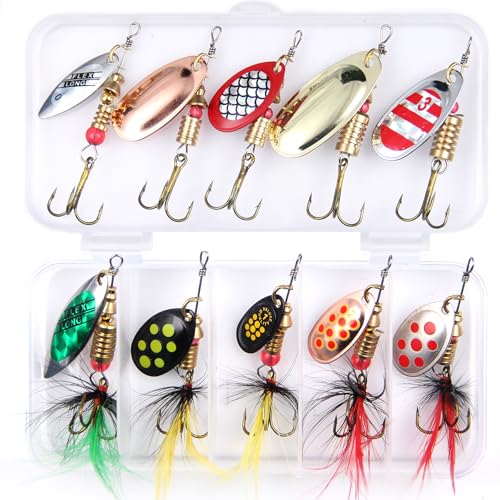
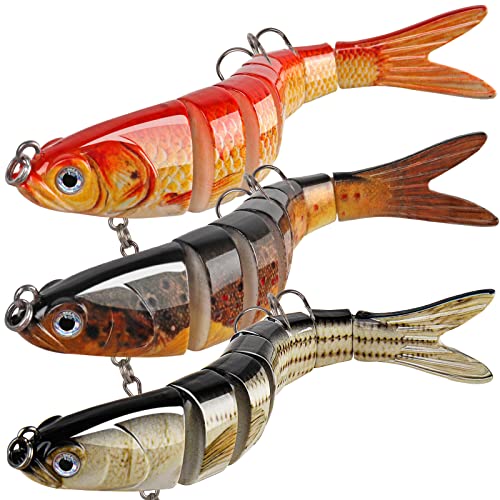
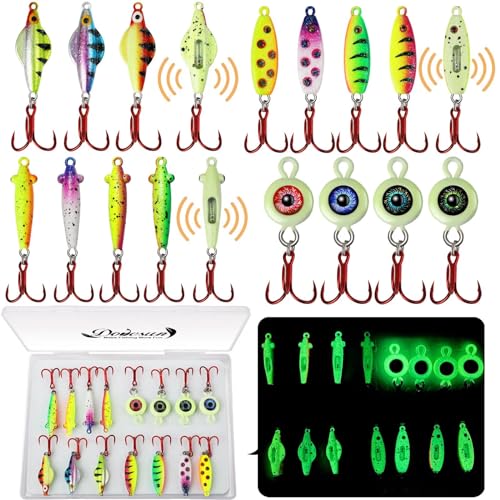
You’ve got a drawer full of mismatched spoons and a tackle box full of store-bought lures that don’t catch anything. Sound familiar? Most anglers hit a point where they want something different—something that matches the local baitfish exactly and doesn’t cost eight bucks a pop. Making your own spoon lures solves both problems. You’ll learn to shape, drill, paint, and tune metal so it wobbles and flashes the way fish want.
This guide walks you through the entire process, from picking the right spoon blank to testing your finished lure in the water. You’ll also learn why each step matters, so you can troubleshoot problems instead of just following a recipe. By the end, you’ll have a durable, custom lure that outworks most store-bought options.

mouhike
Fishing Lure DIY Kit 228pcs Spinner Making Kit Spinnerbaits Accessory
- 【SPINNER DIY KIT】Fishing lure making kit including 39pcs spinner blades, 15pcs treble hooks, 29pcs wire shaft, 15pcs clevises, 15p…
- 【CUSTOMIZE YOUR OWN LURES】Whether you're a beginner learning the craft or a seasoned angler looking to fine-tune your presentation…
- 【PREMIUM MATERIALS THAT PERFORM】 All the spinner blades, lure body, clevises and gold beads are made of copper. Lacquer coating is…
If you’re just starting out and want a shortcut to gathering components, a Fishing Lure DIY Kit with pre-made blades, hooks, and wires helps you skip the hardware store run. It gives you a solid base to experiment with while you master the spoon-making craft.

Why Spoons Make Excellent DIY Lures
Spoons are the simplest effective lure design ever created. A curved piece of metal with a hook catches everything from bluegill to musky. The physics is straightforward: the concave shape creates a wobble as water pushes against it, and that wobble mimics a wounded baitfish. The flash from the polished metal triggers strikes even in murky water.
Unlike crankbaits or jigs, spoon lures have no moving parts to break. No bills to snap off, no skirts to rot, no paint to chip off after one fish. You can make a dozen spoons in an evening with basic hand tools. Compare that to the cost of buying quality metal lures at four to ten dollars each.
Another advantage is customization. You control the weight, the size, the color, and the action. That means you can match the exact forage in your local lake—whether it’s alewife, shad, or perch—better than any mass-produced lure. And when you catch a fish on something you made yourself, that’s a different kind of satisfaction.
Tools and Materials You’ll Need
Before you start cutting metal, gather the basics. Most of these tools you probably already own.
- Metal spoons – Old or cheap stainless steel spoons work best. Avoid plated ones that chip.
- Hacksaw or angle grinder – For cutting the spoon to shape. A rotary tool with a cut-off wheel also works.
- Metal file and sandpaper – To deburr and smooth cut edges. You’ll need 120-grit and 400-grit.
- Drill with small bits – 1/16-inch to 3/32-inch bits for hook and split ring holes.
- Dowel or socket – To hammer the concave shape into the spoon. A 1/2-inch dowel works well.
- Split rings, treble hooks, and swivels – Size 6 or 8 treble hooks for panfish, size 4 or 2 for bass.
- Paint and clear coat – Nail polish, epoxy, or powder coating. More on this below.
One thing to note: cheap spoons bend easier than good ones. Thrift store spoons are often softer metal, which actually makes them easier to shape. That’s a win for beginners.
Step 1: Selecting and Preparing the Right Spoon
Not every spoon makes a good lure. The shape and thickness of the metal determine how the lure moves in the water. Start with a spoon that has a bowl deep enough to catch water—a shallow soup spoon works for small lures, a tablespoon for bigger ones.
Choosing the Correct Spoon Thickness
Thickness controls sink rate and vibration. A thin spoon (around 1mm) flutters slowly and works best in shallow water or for finicky fish like trout. A thicker spoon (1.5mm or more) sinks faster and produces a tighter, stronger wobble—good for deep trolling or current.
Here’s a practical rule: use dessert spoons for panfish and trout, tablespoons for bass and pike. If you’re fishing deep water, go thicker. If you’re casting into a weedy cove, thin flutters work better because they fall slower and get fewer snags.
Cutting and Shaping the Metal
Mark your cut line with a permanent marker. Most anglers cut the handle off and keep the bowl, but you can also cut the bowl into a teardrop shape for a different action. Use a hacksaw with a fine blade, and clamp the spoon to a workbench so it doesn’t slip.
After cutting, file the edges flat. This is critical—a rough edge will fray your line and slice your fingers. Work from coarse to fine sandpaper until the edge feels smooth to the touch. Spend extra time on the holes you’ll drill later; burrs there cut line quickly.
To create the concave shape, place the spoon bowl face-down on a piece of wood. Use a dowel and a hammer to gently tap the center of the bowl. Work from the center outward, rotating the spoon. Check the curve frequently—you want a smooth, even dish, not a crease. A good curve makes the lure wobble on a slow retrieve; a flat spoon just spins.
Step 2: Drilling Holes and Attaching Hardware
Hole placement is where most DIY spoon lures fail. Drill in the wrong spot and you’ll get a lure that spins instead of wobbles, or one that dives sideways.
Positioning Holes for Optimal Action
You need two holes: one at each end of the lure. The front hole (toward the narrower end) is for your line or swivel. The rear hole is for the treble hook. The distance between them matters—too close and the lure won’t wobble; too far and it becomes unstable.
A good starting point is 5-10mm from each end. For a 3-inch spoon, that puts the holes about 2.5 inches apart. You can adjust later based on how the lure behaves in water. Drill with a sharp bit and use a center punch to keep the bit from walking.
Adding Split Rings and Treble Hooks
Always use split rings between the spoon and the hook. A split ring lets the hook swing freely, which increases hook-up ratio and prevents the fish from using the spoon’s leverage to throw the hook. Attach a swivel at the front hole to prevent line twist.
For hook size, match it to the target species. A size 6 treble works for trout and panfish. For bass, go with a size 4 or 2. If you’re making a large pike spoon, use a size 1/0. Don’t oversize the hook—it will kill the lure’s action.
Step 3: Painting and Sealing Your Lure
Bare metal catches fish, but paint adds the trigger. The key is durability. Most spray paints chip after a few casts. You need something tougher.
Best Paint Options for Durability
Nail polish is the easiest option. It adheres well to bare metal, dries fast, and comes in every color imaginable. Apply two thin coats, letting each dry completely. The downside is that nail polish chips, but you can touch it up easily.
Powder coating is the best option for durability. It requires a curing oven, but the finish survives rocks, teeth, and repeated casts. If you don’t have a powder coating setup, use a two-part epoxy clear coat over your paint. It’s not perfect—it takes 24 hours to cure—but it holds up far better than any spray can.
Adding Flash and Realistic Details
Fish strike because of flash and vibration, not because your lure looks exactly like a shad. Keep that in mind. A few stripes on the back and a bright belly are enough. Use a fine brush for details, or try a toothpick for dot patterns.
For extra flash, leave part of the metal unpainted. A polished silver belly catches light and triggers strikes from below. You can also glue a small piece of holographic tape to the side for a scale effect. Just make sure the tape is sealed with clear coat or it’ll peel off.
Step 4: Testing and Tuning Your Lure
You can’t know how your lure performs until it hits the water. Test in a pool, a bathtub, or a shallow shoreline. Cast it and watch the action on the retrieve.
Fixing a Spinning Lure
If your lure spins like a propeller instead of wobbling, the problem is usually a flat or asymmetrical curve. Take it out of the water, check the concave shape, and deepen the curve with your dowel. Also check that both holes are centered. An off-center hole causes the lure to spin on its axis.
Another culprit is a hook that’s too heavy. The hook’s weight pulls the rear down and destabilizes the wobble. Try a lighter hook or a smaller split ring.
Adjusting the Wobble for Different Retrieves
A fast retrieve needs a deeper curve to keep the wobble tight. A slow retrieve works best with a shallower curve. You can also bend the front end of the spoon slightly upward to create more lift, which helps it run shallower. Bend it downward for a deeper dive.
Keep a small notebook with your lure specs. Write down the spoon size, curve depth, and hook size. When you find a combination that catches fish, you can replicate it.
Advanced Tips for Specific Fish Species
Trout: Use thin, small spoons (2-3 inches) with a slow flutter. Paint them silver with a red dot near the rear hook. Cast into riffles and let the spoon flutter on a slack line.
Bass: Go with a thicker, 3-4 inch spoon. Paint it with a shad pattern—dark back, white belly. Retrieve with a steady, medium speed, pausing occasionally to let it fall. The fall is when bass strike.
Pike and Musky: Use large spoons (4-6 inches) with heavy gauge metal. They need a strong, wide wobble to trigger reaction strikes. Use a wire leader—pike teeth will cut mono instantly.
Saltwater: Rinse your spoons with fresh water after every trip. Salt corrodes the hooks and split rings quickly. Use stainless steel hardware and consider a clear powder coat for the body.
Frequently Asked Questions
What’s the best spoon to use for making lures?
Old stainless steel tablespoons and dessert spoons work best. Avoid silver-plated spoons—the plating chips off and the base metal rusts. Thrift stores are a goldmine for cheap, quality spoons.
How do I make a spoon lure wobble instead of spin?
The concave curve is what creates the wobble. Make sure the spoon has a smooth, even dish shape. Also check that both holes are centered. If the lure still spins, deepen the curve or use a lighter hook.
Can I use a spoon lure in saltwater?
Yes, but you need to protect the metal. Use a clear powder coat or epoxy seal. Use stainless steel split rings and hooks. Rinse the lure with fresh water after every saltwater trip to prevent corrosion.
What paint won’t chip off a spoon lure?
Powder coating is the most durable option. Nail polish works well for small lures but chips. If you use nail polish, seal it with a two-part epoxy clear coat. Let it cure fully for 24 hours before casting.
Do I need a split ring on a spoon lure?
Yes. A split ring lets the treble hook move freely, which improves hook-ups. It also prevents the hook from wearing a groove in the spoon. Always use a split ring between the spoon and the hook, and a swivel at the line end.
Final Cast: Why Your Homemade Lure Will Outfish Store-Bought
- Start with old stainless steel spoons—they’re free or cheap and shape easily.
- Cut and sand edges thoroughly to prevent line fray and hand cuts.
- Use a dowel to create a smooth concave curve; this drives the wobble.
- Drill holes 5-10mm from each end, centered exactly.
- Always use split rings and a swivel to prevent line twist and improve hook-ups.
- Seal painted lures with epoxy or powder coat for durability.
- Test every lure in water and tune the curve until it wobbles, not spins.
Your homemade spoon won’t have a fancy brand name, but it’ll catch fish. And when it does, you’ll know exactly why it worked. That knowledge is worth more than any store-bought lure.