It starts the same way for most of us: you’re staring at a torn cast net or a gill net that’s seen better days, and you think, “I could fix this myself.” Or maybe you want a net sized for a specific species and nothing on the shelf fits. Making a gill net with fishing line isn’t just a weekend project—it’s a skill that pays off every time you pull a net full of fish.
This guide walks you through the whole process: choosing the right line and mesh, tying the knots that hold, rigging floats and weights, setting the net legally and effectively, and fixing common failures. You’ll leave with a net that works, not just something that looks like a net.

Milepetus
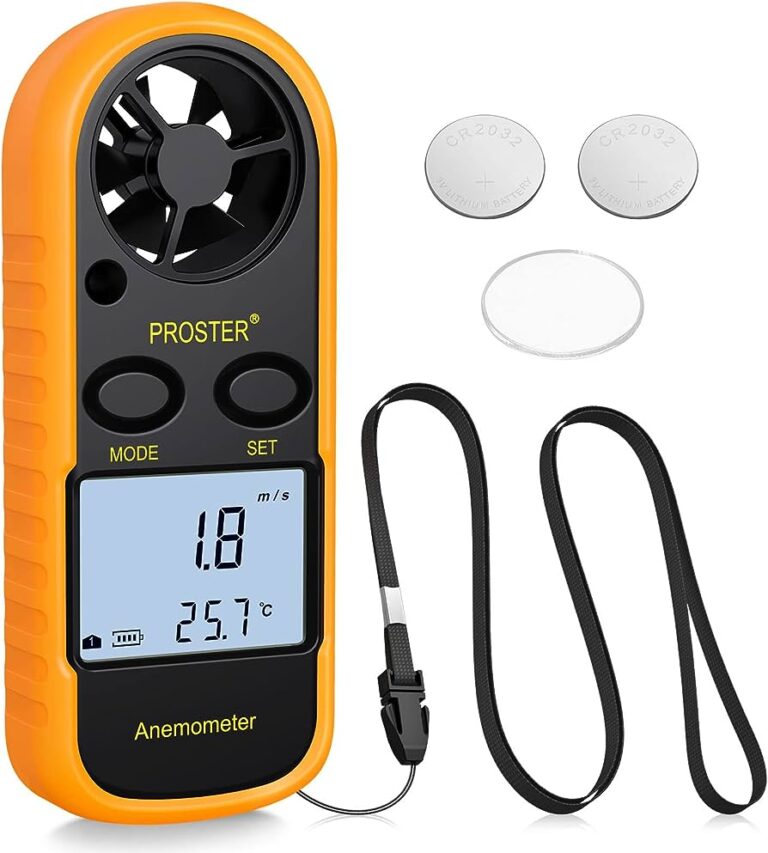
Fishing Net Needle Kit - Netting Shuttles Repair Tool, Size 1 2 3 4 5 6 7 8 9
- The Cast Net shuttles Length: 4.5inch(12cm) to 9inch(22cm). Variety of sizes in this fishing net shuttles set offer you much more…
- Fish Net Repair Needle Sizes: #1,#2,#3,#4,#5,#6,#7,#8,#9,1pcs for each size, Total 9pcs/pack Netting Needle.
- Cast Net Needles for repairing fishing net made of high-quality tough plastic, Light weighted and Easy to use. The fishing net men…
Before you start cutting line, grab a proper netting needle. The Milepetus Fishing Net Needle Kit includes nine shuttle sizes (from 4.5 to 9 inches) plus a pair of scissors. The size range lets you match the shuttle to your mesh opening—small shuttles for tight mesh, large ones for wide mesh. It’s a cheap kit that saves you from wrestling with improvised tools.

What Is a Gill Net and How Does It Work?
A gill net is a wall of netting suspended vertically in the water. Fish swim into it head-first, push through the mesh until their gills catch, and get stuck when they try to back out. The mesh size determines what you catch—too big and fish pass through, too small and they bounce off.
The net hangs from a float line at the top and a lead line at the bottom. The float line keeps the top at a set depth; the lead line pulls the bottom down so the net stays vertical. Without both, you get a tangled mess that catches nothing.
Gill nets are passive gear. You set them and wait. That’s their strength and their danger—they catch whatever swims into them, including non-target species. That’s why mesh size and placement matter more than anything else.
Legal Considerations Before You Start
You can’t just throw a gill net anywhere. Most states and countries regulate gill nets heavily. Some areas ban them entirely for recreational use. Others allow them only in specific waters, seasons, or with a permit. Check your local fish and wildlife agency before you cut a single strand.
Penalties for illegal gill netting are steep—fines, confiscated gear, even jail time in extreme cases. It’s not worth it. Spend an hour on the phone or website to learn the rules for your water.
Also think about bycatch. A net set across a spawning run will catch everything, including undersized fish and protected species. Use the largest mesh that still targets your species, set the net in areas where non-targets are scarce, and check the net frequently so you can release unwanted fish alive. That’s not just ethical—it keeps the fishery healthy so you can keep fishing.
Materials and Tools: What You Need
You need four things: netting (or line to make it), a float line, a lead line, and floats/weights. Plus a netting needle and scissors. That’s it.
Choosing the Right Line and Mesh Size
Monofilament is the standard for gill nets. It’s nearly invisible underwater, which means fish don’t see it until they’re stuck. It’s also stiff, so it holds the mesh open. Multifilament (braided or twisted) is more visible but softer and easier to handle. For most gill netting, monofilament wins. Use 0.20–0.40 mm diameter for average fish; go thicker for large fish that might break through.
Mesh size is the critical number. Measure it as the stretched length of one side of a square opening. Here’s the rule: mesh size should be about one-third of the fish’s girth. A 12-inch girth fish needs a 4-inch mesh. Too small, and fish get caught by the body, not the gills, which kills them slowly. Too large, and they slip through.
| Target Species | Average Girth (inches) | Recommended Mesh (inches) |
|---|---|---|
| Bluegill | 6–8 | 2–2.5 |
| Crappie | 8–10 | 2.5–3 |
| Walleye | 12–14 | 4–4.5 |
| Striped Bass | 18–22 | 6–7 |
| Flounder | 14–16 | 5–5.5 |
This table gives you a starting point. Adjust based on local conditions and what you’re actually catching. If you’re getting too many small fish, go up a size.
Floats, Weights, and the Float Line
The float line is your top rope. Use a braided rope that floats, or attach floats every few feet. The lead line is heavier, often wrapped with lead core to sink. You’ll attach weights every 12–18 inches along the bottom.
Floats come in foam or plastic. Foam is cheap and works fine. Plastic floats are more durable but cost more. You want enough buoyancy to keep the net vertical, but not so much that it pulls the net tight and distort the mesh. A good rule: one float every 3–4 feet, and one weight every 1–2 feet, depending on current.
The float line itself should be a bit longer than the netting to allow for slack. That slack lets the net form gentle curves, which catch more fish than a drum-tight wall.
How to Make a Gill Net with Fishing Line: Step-by-Step
Now the actual work. You can buy pre-made netting, but making your own from line is more satisfying and lets you customize. Here’s the process.
Step 1: Measuring and Cutting the Netting
Decide the net’s length and depth. A typical set net is 50–100 feet long and 6–10 feet deep. Cut your netting panels to size, leaving extra at the top and bottom for attaching lines.
If you’re making netting from scratch, you’ll tie a series of knots to create diamond-shaped mesh. That’s a long process—a 50-foot net can take 10+ hours. Most people buy netting and just rig it. But if you want to make your own, use a netting needle and a gauge stick to keep mesh size uniform. The gauge is a flat stick of the exact mesh width; you wrap the line around it and tie each knot.
Step 2: Tying the Core Knots
Two knots matter: the square knot and the sheet bend. The square knot joins two lines of similar diameter. It’s easy to tie and holds well under tension. Use it to connect netting panels or attach the float line.
The sheet bend joins lines of different diameters—like attaching your netting to a thicker float line. It’s more secure than a square knot in that situation. Practice both until you can tie them in the dark. Your net’s strength depends on them.
To tie a square knot: right over left, left over right. To tie a sheet bend: make a loop in the thicker line, pass the thinner line through and around the whole loop, then tuck it under itself.
Step 3: Attaching the Float and Lead Lines
Lay the netting flat. Run the float line along the top edge, leaving 6–8 inches of slack for every 10 feet of net. Attach the netting to the float line every 3–4 inches with a half-hitch or a clove hitch. The same goes for the lead line at the bottom.
This is where patience pays. A net attached too tightly won’t hang right. Too loose, and it tangles. Aim for a gentle sag between attachment points.
Step 4: Adding Floats and Weights
Slide floats onto the float line before you attach it, or tie them on after. Space them evenly. For weights, clamp lead strips onto the lead line, or tie on small weights. Start with one weight every 18 inches and adjust after a test set.
You want the net to sink quickly and stand upright. If it floats sideways, add more weight. If it sinks too fast and tangles, add more floats.
How to Set Your Gill Net for Maximum Catch
Set the net where fish travel. Look for channels, drop-offs, or along weed lines. Current matters—fish swim against it, so set the net across the current, not with it.
Depth is key. In summer, fish go deeper to find cool water. In spring, they move shallow to spawn. Adjust your net depth accordingly. A net set at 10 feet in 30 feet of water catches little if the fish are at 20.
Time of day changes things. Most fish feed at dawn and dusk, so set the net before those periods. Check it every 1–2 hours. A gill net is not a set-and-forget tool; fish die quickly once entangled.
Seasonal strategy: in cold water, fish are sluggish and less likely to swim into a net. Set in narrow passes where they have no choice. In warm water, they’re active and can see the net better, so use finer line and set near cover.
Common Mistakes and How to Fix Them
You’ll make mistakes. Here’s how to fix the big ones.
Sagging floats: If the net isn’t standing upright, your floats are too weak or too far apart. Add more floats or use bigger ones. Check that the float line is actually floating—some ropes sink over time.
Twisted lines: Wind or current can twist the net into a rope. Prevent it by anchoring both ends and using enough weight. If it twists, pull it up and untangle before it becomes a mess.
Fish escaping: If you’re getting holes in your catch, the mesh is too big or the net is too tight. Loosen the netting between attachment points and consider a smaller mesh.
Maintaining and Repairing Your Net
Rinse your net in fresh water after every use, especially in saltwater. Hang it to dry in the shade—sunlight degrades monofilament fast. Store it loose, not folded tight, to avoid creases.
Repair tears immediately. A small hole becomes a big one. Use your netting needle and extra line to weave a patch, or re-tie the broken mesh. The Milepetus netting needle kit makes repairs easy—just pick the right size for the mesh.
Check the float and lead lines for wear. Replace them if they’re frayed. A broken float line means a lost net.
Frequently Asked Questions
What is the best mesh size for a gill net?
Match the mesh to the fish’s girth. Measure the fish around its widest point, then divide by three. That’s your mesh size. For example, a 12-inch girth needs a 4-inch mesh. Adjust based on what you’re catching.
Can I use regular fishing line for a gill net?
Yes, but monofilament is best. It’s invisible and stiff enough to hold the mesh open. Use 0.20–0.40 mm for most fish. Thicker line for large fish that fight hard.
How long does it take to make a gill net?
Rigging a pre-made net takes 2–4 hours. Making the netting from scratch takes 10+ hours. The needle and gauge speed things up, but it’s still tedious.
Is gill netting legal?
It depends on where you are. Many places restrict or ban gill nets. Check with your local fish and wildlife agency. Ignorance is not a defense.
How do I reduce bycatch?
Use the largest mesh that still catches your target. Set the net in areas where non-targets are rare. Check the net often and release unwanted fish immediately. Some places require bycatch reduction devices—check your regs.
Final Thoughts: Build Smart, Fish Smarter
- Measure mesh by girth, not guesswork—it’s the difference between dinner and disappointment.
- Monofilament beats multifilament for visibility, but it’s harder to handle. Start with multifilament if you’re new.
- Always check local laws before setting a net. A $20 fine isn’t the worst outcome—losing your gear is.
- Set across current, not with it, and adjust depth seasonally.
- Check your net every couple hours. A gill net is a tool, not a trap.
- Rinse and dry your net after each use. Monofilament hates sunlight.
- Keep a netting needle kit handy for quick repairs. A small tear today is a lost net tomorrow.