Setting up a Lowrance Fish Finder is not hard. Follow these simple steps. Soon you will be catching more fish.
Why Use a Fish Finder?
A fish finder helps you see where fish are. It makes fishing easier. It uses sonar technology. This shows you fish and underwater structures.
What You Need
Before you start, gather these things:
- Your Lowrance Fish Finder
- A power source (usually your boat battery)
- Transducer
- Mounting brackets
- Cables and connectors
- User manual
Credit: teamcolibri.blogspot.com
Step 1: Read the Manual
First, read the user manual. It has important information. This will help you set up your device correctly.
Step 2: Choose the Right Location
Find a good spot for your fish finder. It should be easy to see. Make sure it does not block your view. The best place is near the steering wheel.
Step 3: Mount the Display Unit
Use the mounting brackets. Attach the display unit to your chosen spot. Make sure it is secure. You do not want it to fall off.
Step 4: Install the Transducer
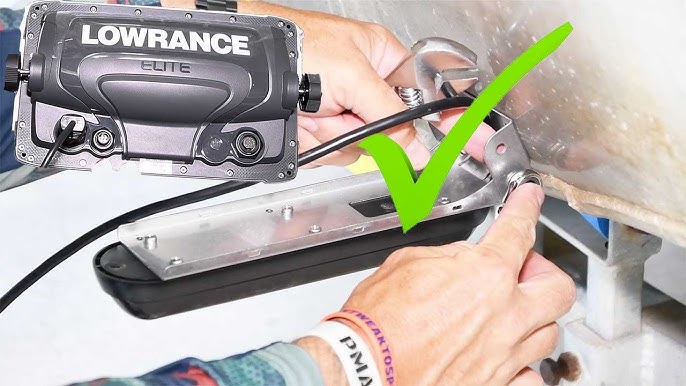
The transducer sends and receives sonar signals. It should be placed at the bottom of the boat. This ensures it is underwater. Follow these steps:
- Find a flat spot at the bottom of your boat.
- Clean the area to remove dirt and grease.
- Attach the transducer bracket.
- Secure the transducer to the bracket.
- Make sure it is level with the waterline.
Credit: www.youtube.com
Step 5: Connect the Cables
Now, connect the cables. There are two main cables. One for power and one for the transducer.
- Connect the power cable to your boat battery.
- Attach the transducer cable to the display unit.
Make sure the connections are tight. Loose connections can cause problems.
Step 6: Power On Your Device
Turn on your fish finder. Check if it is working properly. You should see a display on the screen. If not, check the connections again.
Step 7: Set Up the Settings
Now, adjust the settings. This helps you get the best results. Here are some basic settings:
| Setting | Description |
|---|---|
| Depth Range | Set the depth range you want to scan. |
| Frequency | Choose the right frequency for your fishing area. |
| Sensitivity | Adjust to see more or less detail. |
| Fish ID | Shows fish icons instead of sonar returns. |
Step 8: Test Your Setup
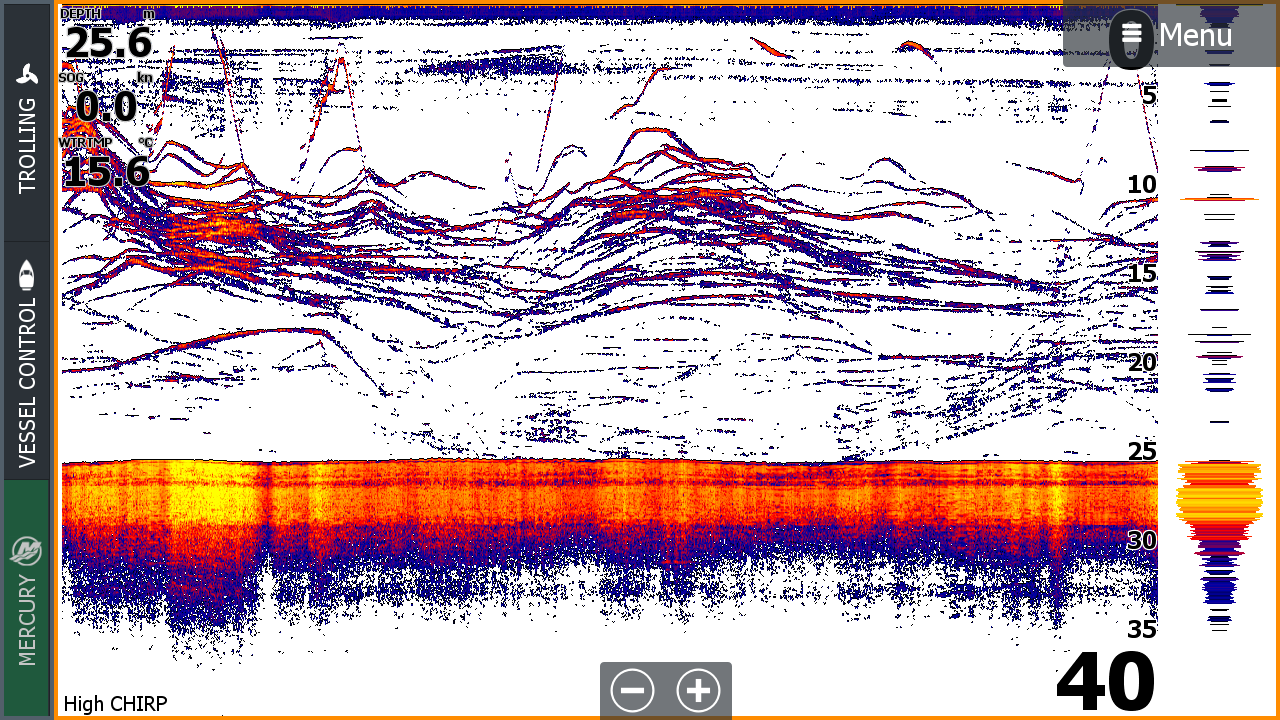
Take your boat out on the water. Test your fish finder. Make sure it shows fish and underwater structures. Adjust the settings if needed.
Common Problems and Solutions
Sometimes, things do not work as planned. Here are some common problems and solutions:
- No Display: Check the power connections. Make sure the battery is charged.
- Weak Signal: Check the transducer placement. Make sure it is underwater and level.
- False Readings: Adjust the sensitivity settings. Reduce if you see too much clutter.
Maintenance Tips
Keep your fish finder in good shape. Follow these tips:
- Clean the display screen regularly.
- Check the cables for wear and tear.
- Store the unit in a dry place when not in use.
- Update the software if new versions are available.
Frequently Asked Questions
How Do I Install A Lowrance Fish Finder?
Mount the fish finder. Connect the transducer. Power it up. Follow the on-screen setup.
How Do I Calibrate My Lowrance Fish Finder?
Go to settings. Select “Calibrate. ” Follow the on-screen instructions to complete calibration.
What Is The Best Transducer For Lowrance Fish Finder?
The best transducer depends on your needs. For general use, a 83/200 kHz transducer works well.
How Do I Update Lowrance Fish Finder Software?
Download the update from the Lowrance website. Transfer it to an SD card. Insert the card and follow the prompts.
Conclusion
Setting up your Lowrance Fish Finder is easy. Follow these steps. Soon you will be finding more fish. Happy fishing!
