Why Jet Ski Installations Differ from Boats
Mounting a fish finder on a jet ski isn’t the same as bolting one onto a bass boat. The hull is shorter, the ride is rougher, and the jet pump throws a stream of aerated water that can scramble sonar readings. Most generic guides skip these details, which is why so many jet ski owners end up with a display that shows a solid wall of noise at 20 mph.
You need to account for three things a boat owner never thinks about: the stepped hull shape, the violent vibration from the pump, and the tiny 12V battery that barely has enough juice to crank the engine. Get those right and the install is straightforward. Get them wrong and you’ll be pulling the unit off after one trip.
SEAWORTHY INNOVATIONS
SEAWORTHY INNOVATIONS Stern Pad - Standard Size - Black - Screwless Transducer/Acc. Mounting Kit (not for Large 3D Scan Transducers)
- Please see the "Stern Pad Strength Demo Video" on You-tube
- Less than 5 minute install time (18 hours cure time)
- No screwing into boat hull or using messy epoxies - Can be bottom painted
This guide walks through the entire process — picking a transducer spot, routing the cable, wiring the power, and testing the unit on the water. No vague advice, just what works on a PWC.
A quick note on mounting hardware: the SeaWorthy Innovations Stern Pad solves the biggest headache of this install — attaching the transducer to a hull you don’t want to drill. It’s a thick adhesive pad that bonds the transducer to the stern without screws or epoxy, and it cures in about 18 hours. The kit includes cable clips that keep the transducer wire from flapping around. It’s not for the huge 3D scanning transducers, but for standard units it works well.
Tools and Materials Checklist
Before you touch the ski, gather everything. Running back to the garage halfway through a wiring job is a waste of time.
- Fish finder with a transom-mount transducer (not a thru-hull style)
- SeaWorthy Innovations Stern Pad or marine-grade adhesive mount
- Marine sealant (3M 5200 or similar) for the cable entry point
- Inline fuse holder with a 1-amp or 2-amp fuse
- Ring terminals and heat-shrink tubing
- Wire strippers, crimpers, and a heat gun
- Zip ties and adhesive cable clips
- Isopropyl alcohol and a clean rag for surface prep
- Drill with a 3/8-inch bit if you’re routing through the hull (optional)
One thing people forget: a voltmeter. You need it to confirm the fuse holder is wired correctly before you connect the battery. A short circuit on a jet ski battery can melt wires fast.
Step 1: Choosing the Optimal Transducer Location
The transducer location makes or breaks the install. The goal is to keep the sonar beam in clean, undisturbed water. On a jet ski, that means staying away from the jet pump intake and the discharge nozzle.
Avoiding Turbulence from the Jet Pump Intake
The pump intake sits at the bottom rear of the hull, and it sucks water in with serious force. If you mount the transducer within 4 inches of that intake, the sonar beam will read bubbles and cavitation instead of fish. The readings will drop out every time you accelerate. Mount the transducer at least 6 to 8 inches away from the intake, on the opposite side of the hull from the pump if possible.
Another spot to avoid is directly behind the intake grate. The water there is already disturbed before the pump even pulls it in. You want the transducer in a flat, smooth section of the hull where water flows laminar — meaning it moves in parallel lines without swirls.
Mounting on the Step vs. the Hull Bottom
Most jet skis have a stepped hull — a raised notch near the rear that helps the ski break free from the water at speed. If your ski has a step, you have two options.
Mounting on the step itself works well because that area is usually flat and out of the main water flow. The downside is that the step can be out of the water entirely when the ski is on plane. If the transducer loses contact with the water, you lose the bottom reading. On most skis, the step stays wet at cruising speed, but test it.
Mounting on the hull bottom below the step keeps the transducer submerged at all times. The trade-off is that this area often has a slight V-shape, which tilts the transducer beam. A tilted beam shows a shallower bottom than reality. You can shim the mount with a small wedge to level it, but that adds complexity. For most riders, the step is the better choice — it’s flatter and easier to align.
Step 2: Routing and Securing the Cable
Once the transducer is mounted, the cable needs to travel from the rear of the ski to the handlebar area where the display sits. This is where most installs look like a rat’s nest.
Run the cable along the inside of the hull, following the existing wiring harness. Use zip ties to secure it every 6 to 8 inches. Do not let the cable dangle — the vibration from the jet pump will eventually rub through the insulation.
Preventing Chafing and Water Ingress
The cable has to exit the hull somewhere. If you’re drilling a hole, use a waterproof cable gland and seal it with marine sealant. The sealant needs a full 24 hours to cure before the ski goes back in the water.
If you’re routing the cable over the top of the hull — which is easier and avoids drilling — run it through the storage compartment and up to the handlebar. Use adhesive cable clips to hold it flat against the hull. The SeaWorthy kit includes three clips, which is enough for the rear section. Buy a few extra for the run to the front.
One detail people skip: leave a small loop of slack in the cable near the transducer. That loop absorbs the flex when the hull twists in rough water. A tight cable will pull the connector loose after a few rides.
Step 3: Wiring to the Battery Safely
The jet ski battery is small, usually around 18 to 20 amp-hours. A fish finder draws about 0.5 amps, so it won’t drain the battery during a normal day of riding. But leaving the unit on overnight will kill the battery dead. Wire it with a disconnect switch so you can cut power completely.
Adding an Inline Fuse and Disconnect Switch
Connect the red power wire from the fish finder to the inline fuse holder, then to the positive battery terminal. The fuse must be within 6 inches of the battery terminal — that protects the wire from shorting out along its length. Use a 1-amp fuse for most units; check your fish finder’s manual for the exact rating.
The black ground wire goes to the negative battery terminal. Do not ground to the hull or a bolt — the electrical system on a jet ski is not a reliable ground. Use ring terminals and crimp them properly. A loose connection at the battery terminal causes voltage drops that make the display flicker.
Wire a simple toggle switch into the red wire between the fuse and the fish finder. Mount the switch near the display so you can kill power without reaching into the hull. This also prevents the unit from staying on accidentally.
Step 4: Mounting the Display Unit
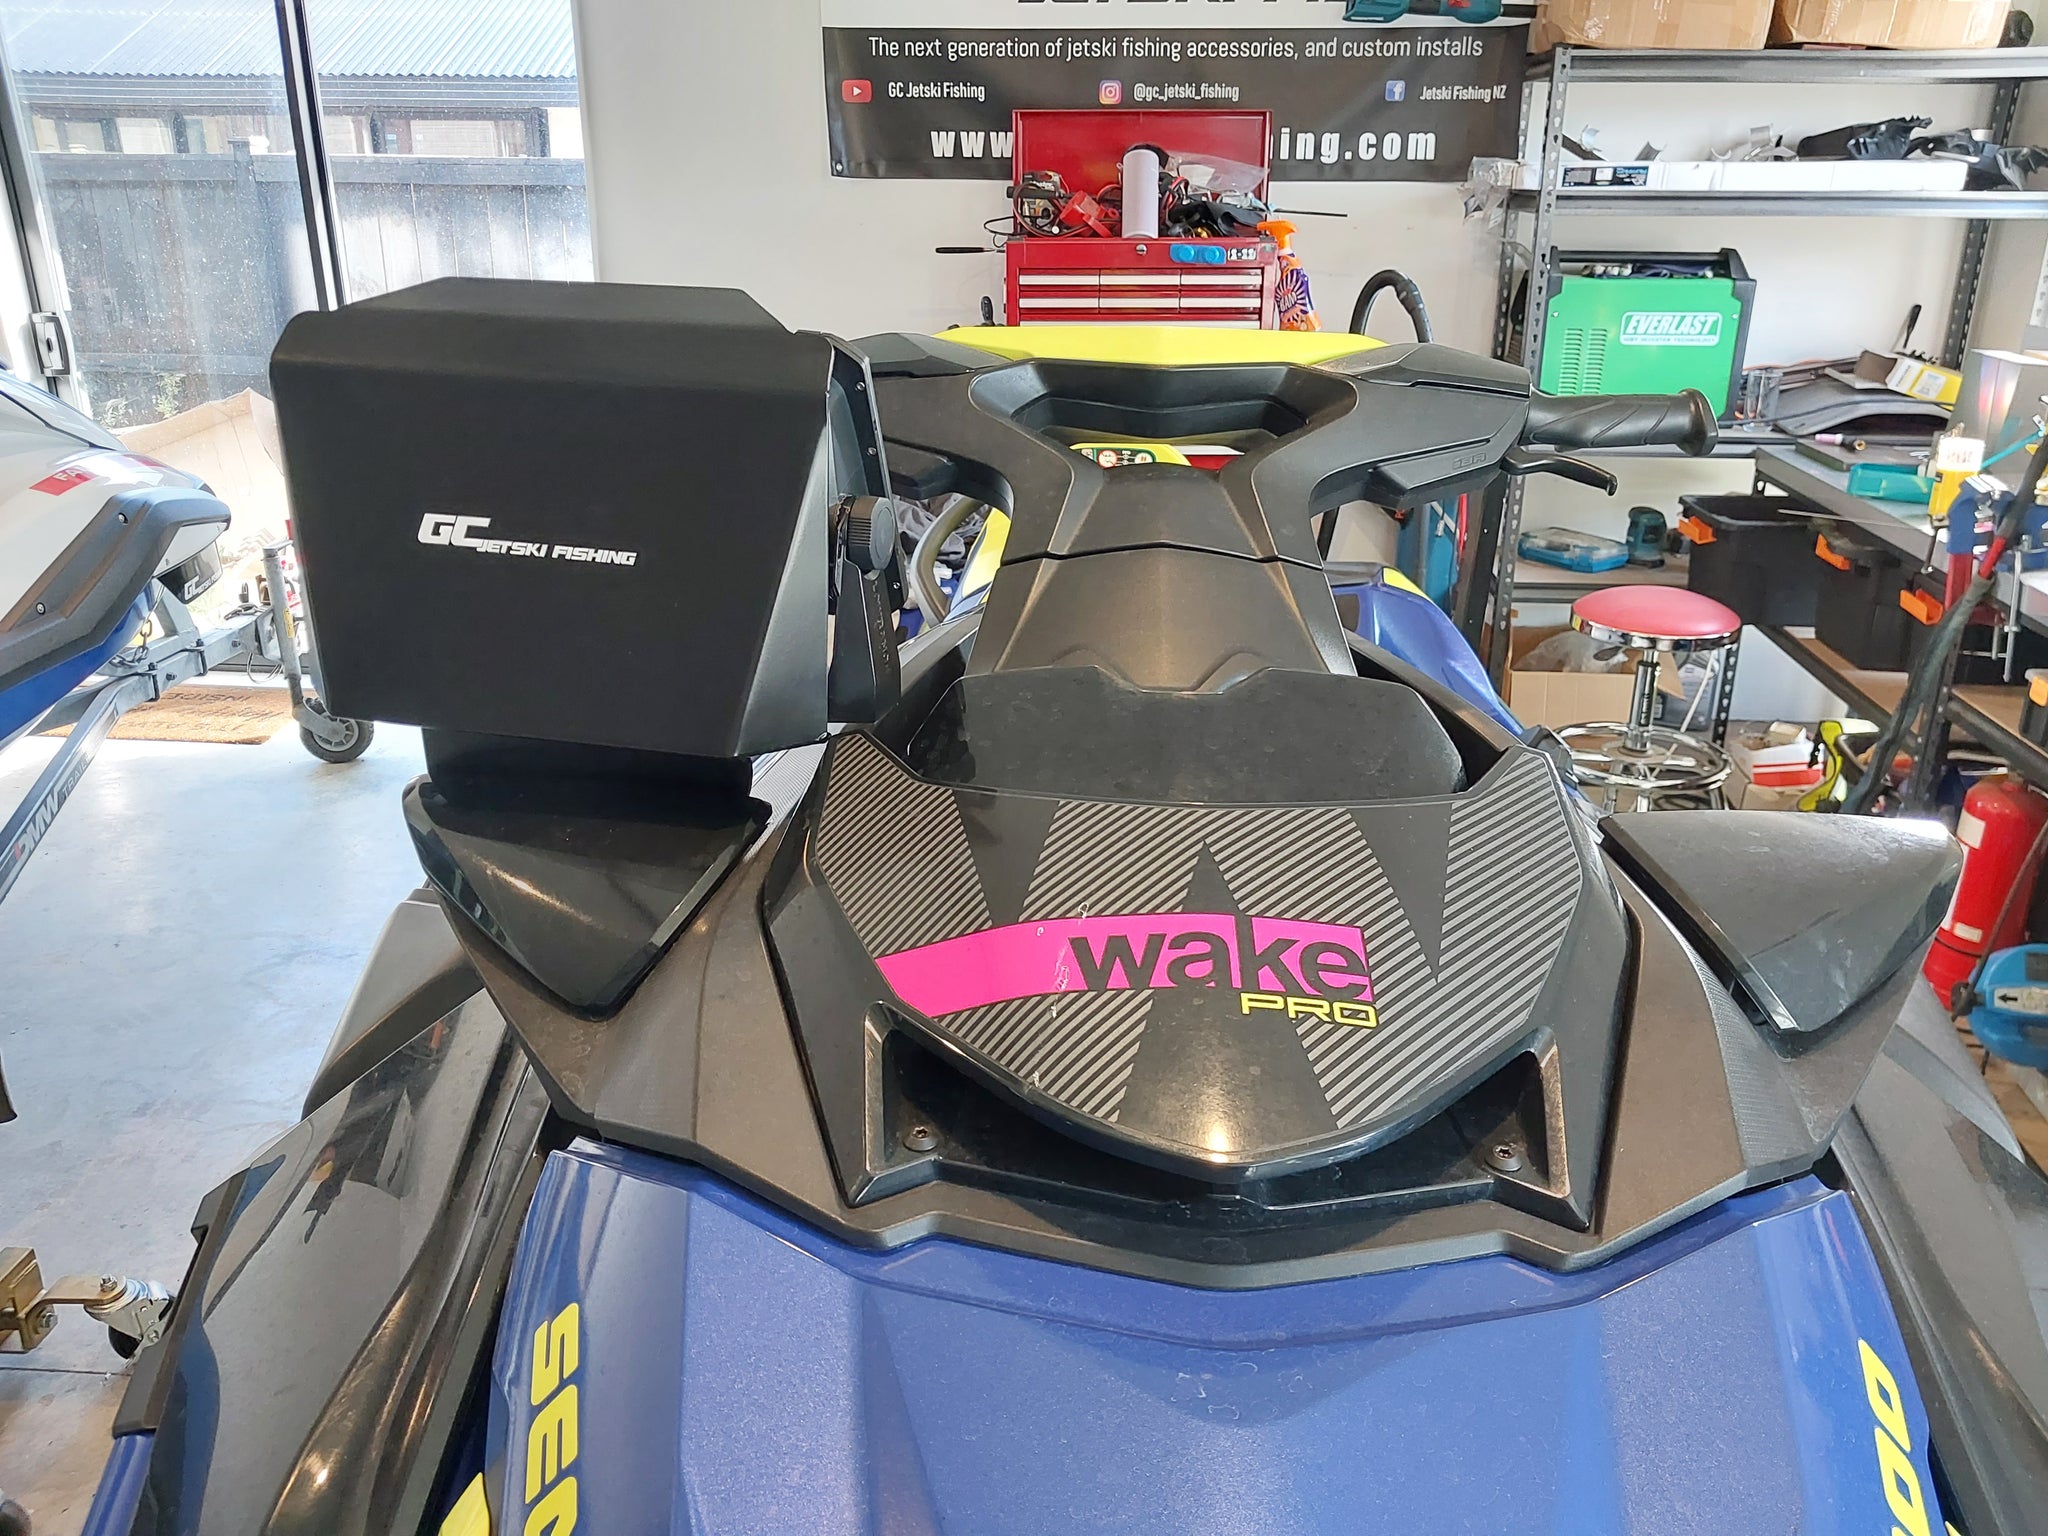
The display goes on the handlebar or the steering column. The mounting bracket that comes with most fish finders works, but it’s worth buying a RAM mount for better adjustability. The display needs to be visible without forcing you to look down for more than a second.
Positioning for Visibility and Safety
Mount the display so it doesn’t block the speedometer or the start button. On most skis, the left side of the handlebar is the sweet spot — it’s out of the way of the throttle on the right.
Keep the screen angled slightly downward to reduce glare. Direct sunlight on a glossy screen makes it unreadable. A matte screen protector helps, but angling the mount is the real fix.
One safety note: don’t mount the display in the center of the handlebar. If you crash, your chest hits that area. A hard plastic display in that spot can cause real injury. Keep it off to the side.
Step 5: The First-Water Test and Calibration
The first time you take the ski out, don’t just hit the throttle and go. Run a specific test protocol to verify the readings.
- Launch the ski and let it idle in neutral for 2 minutes. The unit should show a steady bottom reading with no dropouts.
- Accelerate slowly to 10 mph and hold for 30 seconds. Watch for the depth reading to stay stable.
- Push to 20 mph and hold for 30 seconds. This is where aerated water from the jet pump usually causes problems. If the reading blinks or disappears, the transducer is in a bad spot.
- Turn the ski in a tight circle at idle. The transducer should hold the bottom reading through the turn.
- Kill the engine and coast to a stop. The unit should shut off cleanly with no flicker.
If the reading drops out at speed, the transducer is picking up bubbles. Try tilting the transducer slightly downward — a 2-degree adjustment is often enough. If that doesn’t fix it, move the transducer closer to the centerline of the hull.
Troubleshooting Common Jet Ski Issues
Ghost readings — where the display shows a bottom that jumps around or shows false fish — are almost always caused by aerated water. The jet pump churns air into the water, and the sonar reads those bubbles as solid objects. The fix is relocating the transducer to a cleaner water flow.
Interference on the display shows up as random noise or vertical lines. This usually comes from the ignition system. Route the transducer cable away from the spark plug wires and the electrical box. If the noise persists, add a ferrite bead to the power cable near the display.
Loose connections are the most common failure point. The vibration from a jet ski is brutal — far worse than a boat. Check all connections after the first ride and tighten anything that moved. Use thread-locker on the mounting screws.
Final Checklist Before Every Ride
Spend two minutes checking these items and you’ll avoid most problems on the water.
- Confirm the display is locked into the mount and the power cable is connected.
- Check the transducer cable for any chafing or cuts along the hull.
- Verify the fuse holder is dry and the fuse is seated.
- Make sure the disconnect switch is on before starting the engine.
- Open the storage compartment and check that no water pooled around the cable entry point.
- Wipe the display screen clean — salt spray dries into a crust that scratches the lens.
Jet ski fish finder installs take a few hours the first time, mostly because you’ll second-guess the transducer placement. Trust the process, test on the water before you commit to a final position, and you’ll have a setup that reads true at speed.