To change a fishing reel from left to right, simply unscrew the reel handle and place it on the opposite side. Make sure to screw it tightly to avoid any accidents during use.
Now, let’s delve into the process of changing the fishing reel from left to right in more detail. Fishing enthusiasts often wonder how to switch their fishing reel from left to right. Fortunately, the process is fairly straightforward. By following a few simple steps, you can easily make the switch and adapt to your preferred hand orientation.
We will guide you through the step-by-step process of changing a fishing reel from left to right. So, let’s dive in and get started on this interesting topic!
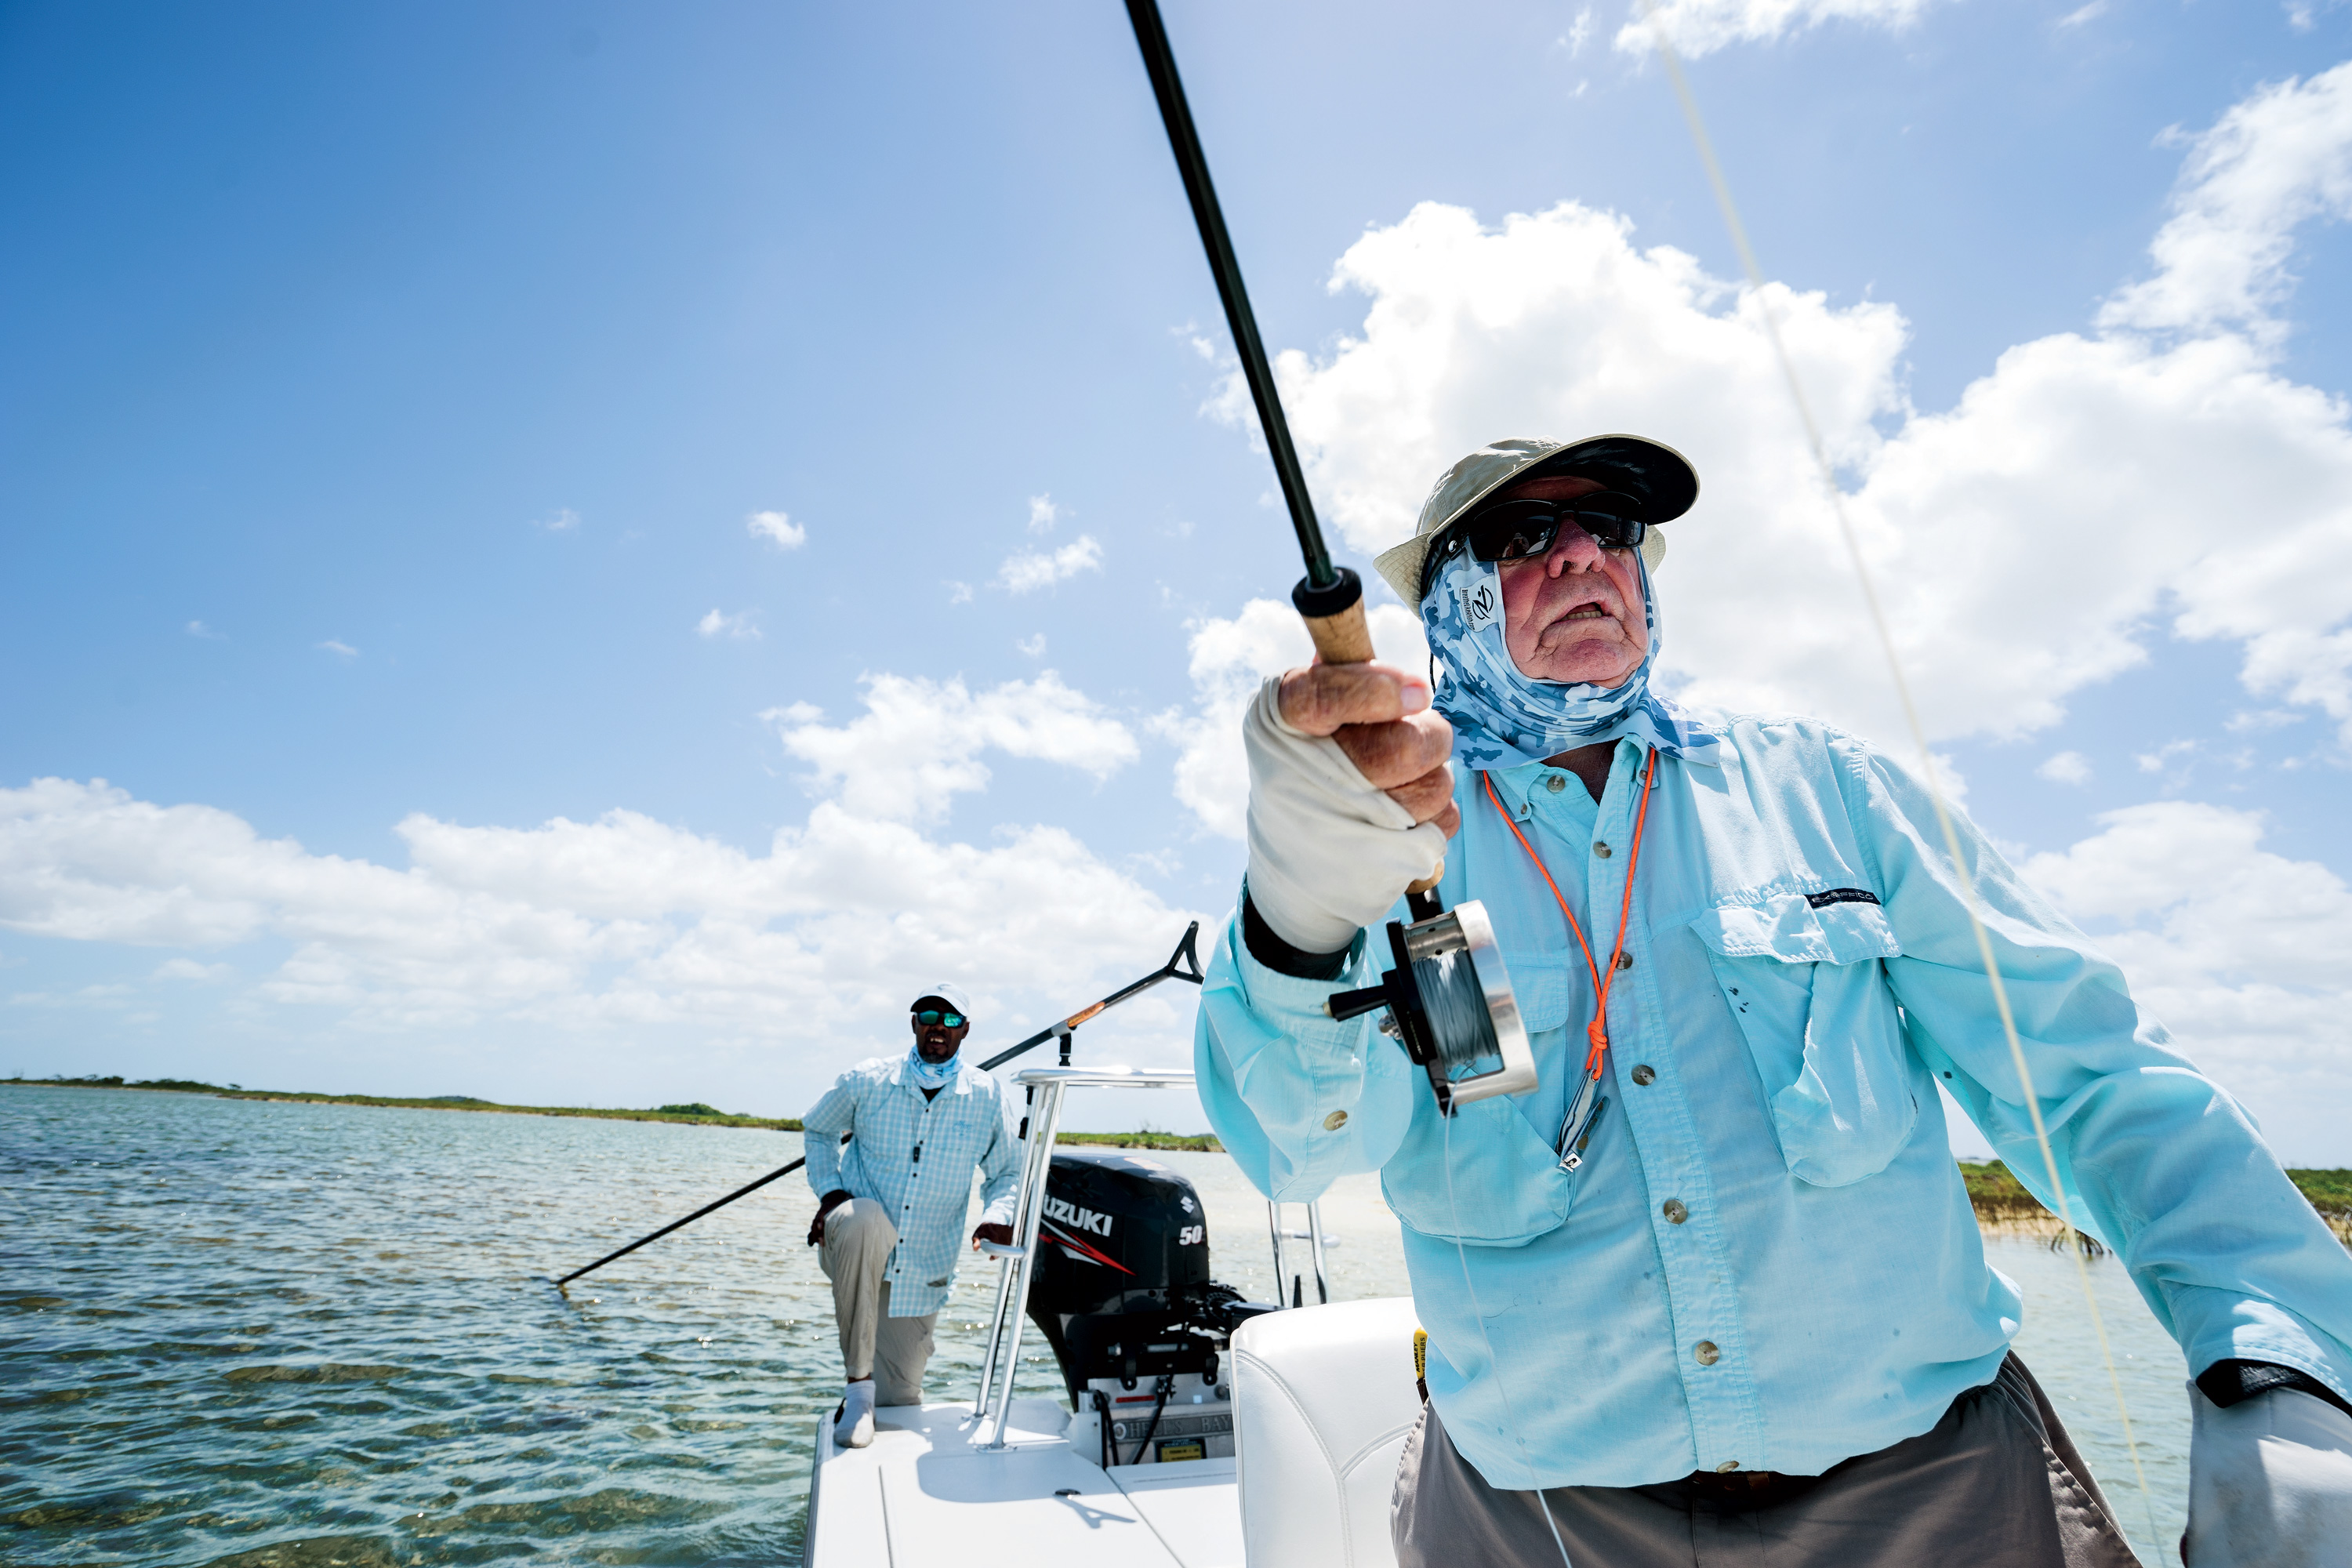
Credit: gardenandgun.com
Why Is It Important To Master This Skill?
Whether you are an experienced angler or a beginner in the world of fishing, mastering the skill of changing your fishing reel from left to right is essential. This seemingly simple skill can have a significant impact on your overall fishing experience.
Here are a few reasons why it is important to master this skill:
Improving Fishing Efficiency And Success Rate
- Better reel control: Changing the fishing reel from left to right allows for a more natural hand position, providing better control over the line.
- Swift line retrieval: By mastering this skill, you will be able to retrieve the line quickly and effortlessly. This will come in handy when you need to reel in a fish with speed.
- Smooth casting: Changing the fishing reel hand position ensures smoother and more accurate casting. It allows for easier manipulation of the line, resulting in more precise casts and increasing your chances of landing your target.
Reducing Strain On The Wrist And Arm During Prolonged Fishing Sessions
- Ergonomic advantage: When you continuously use the same hand to operate the reel, it can lead to fatigue and strain on your wrist and arm. By switching hands, you distribute the workload and reduce the strain on specific muscles.
- Prolonged fishing endurance: Mastering the skill of changing the fishing reel from left to right reduces the risk of repetitive stress injuries and allows you to fish for longer periods without experiencing discomfort or pain.
- Enhanced comfort: Switching hands not only reduces strain but also allows you to change your grip and posture. This diversity in movement helps alleviate any stiffness and promotes a more comfortable fishing experience.
Taking the time to master the skill of changing your fishing reel from left to right can significantly enhance your fishing efficiency, success rate, and overall enjoyment. By improving your control, retrieving line swiftly, casting smoothly, and reducing strain on your wrist and arm, you’ll be well on your way to becoming a more skilled and comfortable angler.
So, why wait? Start practicing this important skill and reap the benefits on your next fishing adventure!
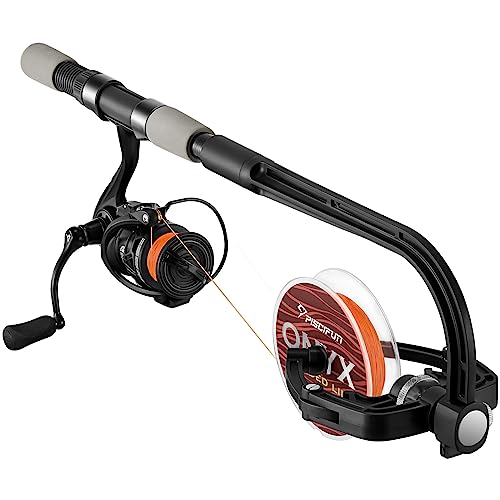
Step 1: Choosing The Right Fishing Reel
When it comes to fishing reels, choosing the right one is crucial for an enjoyable and successful fishing experience. Here, we will discuss the key points to keep in mind when selecting a fishing reel that can be easily changed from left to right hand retrieve.
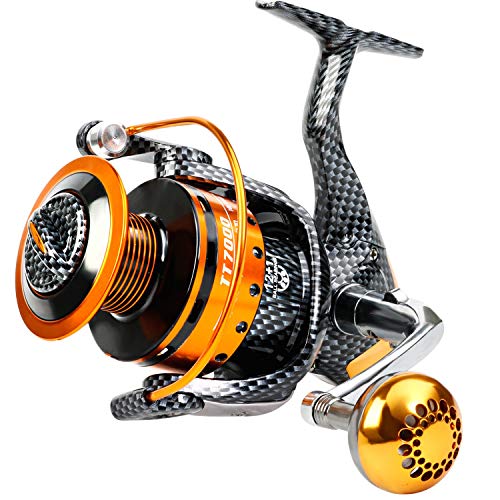
- Understanding the different types of fishing reels:
- Spinning reel: This type of reel is popular among both beginners and experienced anglers. It offers versatility and ease of use, making it a great choice for various fishing techniques.
- Baitcasting reel: This reel is commonly used by experienced anglers for its accuracy and control. It allows for precise casts and is ideal for targeting larger fish species.
- Fly reel: As the name suggests, this reel is specifically designed for fly fishing. It is lightweight and allows for effortless casting and reeling in of the line.
- Selecting a reel that allows for easy conversion:
- Ambidextrous design: Look for fishing reels that are designed to accommodate both left and right hand retrieve. These reels often have a reversible handle that can be easily switched to your preferred side.
- Quick conversion mechanism: Some reels feature a quick conversion system that allows for easy and tool-free switch between left and right hand retrieve. This can be a convenient option for those who frequently switch hands or share their gear with others.
- Spare spool option: Another aspect to consider is whether the reel comes with a spare spool. This allows you to have one spool set up for left hand retrieve and another for right hand retrieve, making the switching process even faster.
Choosing the right fishing reel is the first step in changing from left to right hand retrieve. Understanding the different types of reels and selecting one that offers easy conversion options will ensure a smooth and enjoyable fishing experience. So, make sure to consider these factors before making your purchase decision.
Happy fishing!
Step 2: Gathering The Necessary Tools
Before you start changing your fishing reel from left to right, it is important to gather the necessary tools. This will ensure that the process goes smoothly and you have everything you need on hand. Here are the key points to keep in mind when it comes to identifying the tools needed for converting the reel:
- Fishing reel – you will need the fishing reel that you want to change from left-handed to right-handed. Make sure it is in good working condition and ready for the conversion process.
- Screwdriver – a screwdriver is essential for removing and attaching screws in the reel. Different reels may require different types of screwdrivers, so make sure you have the right size and type for your specific reel.
- Allen wrench – some fishing reels have screws that require an allen wrench. Check your reel’s user manual or do some research to determine if you need an allen wrench for your reel.
- Towel or cloth – having a towel or cloth handy is useful for cleaning the reel and keeping it free from dirt and grime during the conversion process.
- Lubricant – it is important to lubricate the reel after the conversion to ensure smooth operation. Have some fishing reel lubricant or oil on hand for this purpose.
- Container – to keep track of the screws and small parts while working on your reel, it is helpful to have a container or tray to place them in. This will prevent them from getting lost or rolling off the table.
Ensuring proper maintenance of tools for future use is also crucial. Here’s what you need to keep in mind:
- Clean and store tools properly – after completing the reel conversion, make sure to clean any dirt or oil from the tools used. Properly storing them in a safe and dry place will ensure their longevity and prevent any damage.
- Regularly check tools – check the condition of your tools before each fishing trip or when you plan to use them again. Look for any signs of wear or damage and replace them if necessary. This will help avoid any issues during future reel conversions or maintenance tasks.
By gathering the necessary tools and taking care of them, you are setting yourself up for a successful reel conversion. Having the right tools and maintaining them properly will help you throughout the process and ensure that your fishing reel functions smoothly.
Step 3: Preparing The Fishing Reel For Conversion
Before you can change a fishing reel from left to right, there are a few important steps to take in order to prepare the reel for conversion. By following these steps, you can ensure a smooth transition and optimal performance.
Cleaning And Lubricating The Reel
It is essential to start the conversion process by cleaning and lubricating the fishing reel. This will help prolong its lifespan and ensure smooth operation. Here are the key points to keep in mind:
- Disassemble the reel: Begin by removing the handle, spool, and any other removable parts of the reel. Refer to the manufacturer’s instructions or diagram if needed.
- Clean the reel: Use a gentle cleaning solution or reel degreaser to remove any dirt, grime, or old lubricant from the reel. Scrub with a soft brush or cloth to reach all the nooks and crannies.
- Inspect the reel: While cleaning, carefully inspect the reel for any signs of damage or wear. Look out for broken parts, rust, or corrosion. Replace any worn-out components before proceeding.
- Lubricate the reel: Once the reel is clean, apply a small amount of reel oil or lubricant to the necessary areas. Focus on the main gears, bearings, and other moving parts. Be sure to use a lubricant recommended for your specific reel model.
- Reassemble the reel: After lubricating, carefully reattach the handle, spool, and other parts. Make sure everything is secure and aligned properly.
Detaching The Handle And Spool
The next step in preparing the fishing reel for conversion is detaching the handle and spool. This process can vary depending on the reel type and model, so it’s important to refer to the manufacturer’s instructions. Here are the key points to remember:
- Locate the attachment points: Identify the screws or bolts that hold the handle and spool in place. These can typically be found on the side plate or housing of the reel.
- Use the proper tools: To detach the handle and spool, you may need a screwdriver, wrench, or other suitable tools. Ensure you have the right size and type of tools for your reel.
- Unscrew or unbolt: Carefully remove the screws or bolts that secure the handle and spool. Keep track of any washers or other small parts that may come loose during the process.
- Set aside the handle and spool: Once detached, set aside the handle and spool in a safe place. Keep all the parts organized to avoid misplacement or confusion during the conversion process.
By following these steps, you can properly prepare your fishing reel for conversion from left to right. Cleaning, lubricating, and detaching the necessary components will help ensure a successful transition and improve the overall performance of your reel while fishing.
Step 4: Changing The Handle Position
Understanding The Handle Conversion Process
When it comes to changing the handle position on your fishing reel, it’s important to understand the conversion process. This step is crucial in ensuring that you can comfortably reel in your catch from either the left or right side.
Here’s a breakdown of the key points to consider:
- Check the reel’s compatibility: Before attempting to change the handle position, make sure your fishing reel is designed for ambidextrous use. Some reels may not have this functionality, so it’s essential to verify compatibility beforehand.
- Remove the reel handle: Start by unscrewing the handle from the reel using the appropriate tool. Most reels have a screw located near the base of the handle. Use gentle force to loosen and remove the screw, allowing the handle to be detached.
- Identify the handle screw position: Take note of the hole or screw position on the opposite side of the reel where the handle will be mounted. This is where the handle will be reattached once the conversion is complete.
- Insert the handle screw: Using the appropriate tool, insert the handle screw into the hole or designated position on the opposite side of the reel. Secure the screw firmly but avoid overtightening, as it may damage the reel or affect its performance.
- Attach the handle: Once the screw is in place, attach the fishing reel handle onto it. Align the handle with the screw, ensuring it fits snugly into position. Once aligned, tighten the handle screw to secure it in place.
- Test the handle position: Give the handle a few test turns to ensure it is securely fastened and functioning correctly. Ensure that the handle moves smoothly and effectively in the desired direction.
- Make necessary adjustments: If the handle feels loose or wobbles while in use, slightly loosen the screw and make minor adjustments to the handle position. Keep testing until you find the optimal position where the handle is secure and comfortable to use.
- Maintain proper reel care: Once you have successfully changed the handle position, it’s important to regularly maintain your fishing reel. This includes keeping it clean, properly lubricated, and free from debris to ensure optimal performance and longevity.
- Practice: Changing the handle position may feel unfamiliar at first, so it’s essential to practice using the reel in its new configuration. Spend some time getting accustomed to the new setup before heading out on your next fishing excursion.
- Consider professional assistance: If you are unsure about changing the handle position or encounter any difficulties, it’s always a good idea to seek professional assistance. A knowledgeable fishing equipment technician can provide guidance and ensure the handle conversion is done correctly.
Remember, changing the handle position on your fishing reel requires careful attention to detail and following the correct steps. By understanding the process and taking your time, you can successfully convert the handle to the opposite side, allowing for a more versatile and comfortable fishing experience.
Happy fishing!
Step 5: Adjusting The Drag System And Line Guide
Now that you have successfully switched the fishing reel handle from left to right, it’s important to ensure that the drag system and line guide are properly adjusted. These adjustments will optimize your fishing experience and help you reel in your catch smoothly.
Follow these steps to make the necessary adjustments:
Ensuring Proper Alignment Of The Drag System
- Locate the drag adjustment knob or lever on your fishing reel. This is usually found near the handle or on the side of the reel.
- Turn the drag adjustment knob counterclockwise to loosen the drag tension. This allows the line to be pulled out more easily when a fish bites.
- Tighten the drag adjustment knob by turning it clockwise to increase the drag tension. This will make it more difficult for the line to be pulled out, giving you more control over the fish.
- Test the drag system by pulling on the line. It should have enough tension to resist your pull but still allow the line to be released smoothly when necessary.
- Adjust the drag system according to the size and strength of your target fish. Larger, more powerful fish may require a tighter drag, while smaller fish can be caught with less resistance.
Making Necessary Adjustments To The Line Guide
- Locate the line guide, which is usually a small metal or ceramic ring near the front of the fishing reel.
- Inspect the line guide for any damage or debris that may interfere with the line’s movement. Clean or repair as needed.
- Align the line guide with the fishing rod’s line guides. This ensures that the line flows smoothly and doesn’t get tangled or snagged.
- Use your fingers to gently guide the line through the line guide as you reel it in. This helps prevent line twists and ensures proper line placement on the reel.
- Check the line guide periodically during your fishing session to make sure it remains aligned. Any misalignment can cause the line to fray or break, leading to lost fish.
Remember, the drag system and line guide adjustments are essential for a successful fishing experience. Take the time to make these adjustments properly before casting your line. Happy fishing!
Step 6: Testing And Fine-Tuning The Conversion
Once you have successfully converted your fishing reel from left to right, it’s crucial to test and fine-tune the conversion to ensure optimal performance. This step will help you identify any issues and make minor adjustments as needed.
Here are the key points to consider during the testing and fine-tuning process:
- Test the reel for smooth operation: After the conversion, give the reel a few spins to check if it operates smoothly. Pay attention to any grinding or unusual noises that might indicate a problem.
- Inspect the drag system: Make sure to examine the drag system, which is responsible for applying and releasing tension on the fishing line. Ensure that it functions properly and doesn’t produce any issues during operation.
- Adjust the tension settings: Depending on your fishing preferences and the type of fish you’re targeting, you may need to make minor adjustments to the tension settings. This will help ensure that the reel provides the right amount of resistance when fighting fish.
- Check for wobbling or misalignment: Take a close look at the reel to ensure there is no wobbling or misalignment. Any irregularities could affect the performance and longevity of the reel. If you notice any issues, refer to the manufacturer’s instructions for troubleshooting or seek professional assistance.
- Test the line retrieval: Verify that the line retrieval is smooth and consistent. This is essential for efficient casting and reeling in your catch. If you notice any hiccups or inconsistencies, investigate the cause and make the necessary adjustments.
- Fine-tune the brake system (if applicable): Some fishing reels have a brake system that helps control the speed and distance of casts. If your reel has this feature, take the time to fine-tune it according to your preferences and fishing conditions.
- Consider the ergonomic factor: As you test and fine-tune the conversion, pay attention to how comfortable and natural the reel feels in your hand. Adjustments may be needed to ensure a comfortable grip and smooth operation throughout your fishing sessions.
Testing and fine-tuning the conversion are crucial steps to ensure a successful transition from left to right-handed fishing reel. Take your time, be thorough, and enjoy the process of optimizing your reel for a better fishing experience.
Tip 1: Practicing With Your Converted Reel
Getting Accustomed To The New Handle Position
Changing the handle position on your fishing reel can take a bit of getting used to. It’s important to practice with your converted reel in order to improve your muscle memory and become comfortable with the new setup. Here are a few tips to help you adjust:
- Start by practicing in a controlled environment, such as your backyard or a local fishing spot. This will allow you to focus solely on getting familiar with the new handle position without the distractions of a real fishing experience.
- Begin by holding the reel in your non-dominant hand (if you’re right-handed, hold it in your left hand; if you’re left-handed, hold it in your right hand). This will feel unusual at first, but it’s an important step in building muscle memory for the new handle position.
- Start by slowly reeling in and casting out your line, paying close attention to your hand and arm movements. Take note of any discomfort or awkwardness and make adjustments as needed.
- Gradually increase the speed and intensity of your practice sessions. The more you practice, the more you’ll be able to fine-tune your technique and build confidence in your ability to operate the reel from the new handle position.
- Practice both single-handed and two-handed casting techniques. This will help you get a feel for the different ways you can manipulate the reel and maximize your control over the line.
- Consider using a lighter weight lure or sinker during your practice sessions. This will help reduce the strain on your muscles as you adapt to the new handle position.
- Take breaks when needed. Overexerting yourself or pushing through discomfort can lead to injury. Listen to your body and rest when necessary.
- Don’t be discouraged if it takes some time to fully adjust to the new handle position. Remember, it’s a learning process, and with consistent practice, you’ll become more proficient and comfortable in no time.
By consistently practicing and familiarizing yourself with the new handle position, you’ll gradually improve your muscle memory and overall performance with your converted fishing reel. So get out there, put in the time, and enjoy the rewards of mastering the switch from left to right!
Tip 2: Maintaining Your Converted Reel
To ensure the longevity and optimal performance of your newly converted fishing reel, regular maintenance is crucial. By properly cleaning and lubricating the reel components and checking for any wear and tear, you can maximize its lifespan. Here are some key points to keep in mind for maintaining your converted reel:
- Regular cleaning and lubrication of the reel components:
- Clean the reel after each fishing trip to remove dirt, saltwater, and debris.
- Use a soft cloth or brush to wipe down the exterior of the reel and remove any excess dirt or grime.
- Disassemble the reel according to the manufacturer’s instructions to clean the internal components thoroughly.
- Use a reel cleaner or mild detergent mixed with warm water to clean the reel’s parts.
- After cleaning, ensure all parts are completely dry before reassembling the reel.
- Apply a small amount of reel oil or lubricant to the gears, bearings, and other moving parts to ensure smooth operation.
- Checking for any wear and tear, and replacing parts if necessary:
- Inspect the reel for any signs of wear, such as cracks, corrosion, or damaged parts.
- Pay special attention to the drag system, handle, and bail, as these components are often subjected to heavy stress.
- If you notice any worn or damaged parts, consult the reel’s manual or contact the manufacturer for replacement options.
- Regularly check the line roller for wear, as this component can become grooved over time and affect the line’s performance.
- Always use genuine replacement parts from the reel’s manufacturer to ensure proper fit and compatibility.
By following these maintenance tips, you can keep your converted fishing reel in excellent working condition and prolong its lifespan. Regular cleaning, lubrication, and inspection of the components will help prevent unnecessary wear and tear, allowing you to enjoy many successful fishing trips with your reel.
So, make sure to incorporate these practices into your routine to get the most out of your converted reel.
Tip 3: Seeking Professional Assistance If Needed
Sometimes, changing a fishing reel from left to right can be a complex process, especially for beginners or those who are not familiar with the inner workings of a reel. In such cases, it is advisable to seek professional assistance to ensure a smooth and proper conversion.
Here are a few options to consider:
- Consulting with fishing reel experts: Reach out to fishing reel specialists who have extensive knowledge and experience in reel conversions. They can provide valuable guidance and instructions tailored to your specific reel model. These experts can be found through online forums, social media groups, or even by contacting fishing reel manufacturers directly.
- Visiting local tackle shops: Local tackle shops are another excellent resource for receiving professional help with reel conversions. The staff at these shops are often knowledgeable and experienced in fishing gear and can offer hands-on assistance. They can guide you through the process step-by-step and ensure that the reel is changed correctly.
- Getting professional help for complex reel conversions: If you have a particularly complex reel or are unsure about the process, it’s better to let professionals handle the conversion. Some tackle shops provide reel service and repair options, and they can take care of the conversion for you. This way, you can be confident that the reel will be properly changed and ready for your next fishing adventure.
Remember, seeking professional assistance is not a sign of weakness or incompetence but rather a smart decision to ensure that the fishing reel is changed correctly. It can save you time, effort, and potential frustration. So, don’t hesitate to reach out to experts or local tackle shops if you need their assistance in changing your fishing reel from left to right.
Conclusion
Changing the fishing reel from left to right can make a significant difference in your fishing experience. By following the simple steps outlined in this blog post, you can easily switch the reel to the opposite side, allowing for more comfort and control while you fish.
Remember to gather the necessary tools and materials before starting the process, and take your time to ensure a proper switch. Whether you are a beginner or an experienced angler, changing your fishing reel to the dominant hand can enhance your accuracy and casting distance.
So, don’t hesitate to make this adjustment and enjoy a more efficient and enjoyable fishing experience. Make sure to practice the new technique before your next fishing trip, and soon you’ll feel confident and in control with your reel in its new position.
Happy fishing!