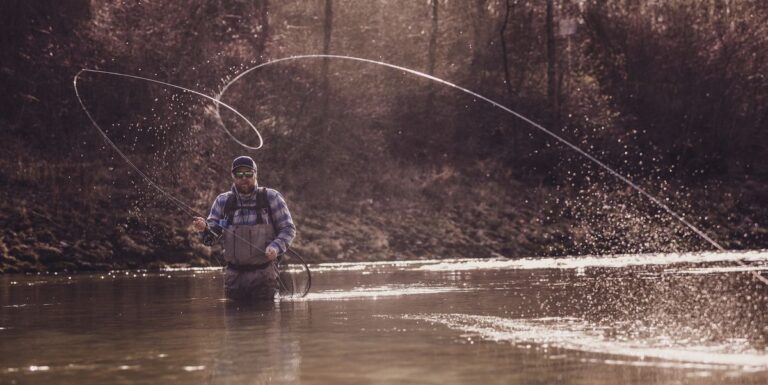
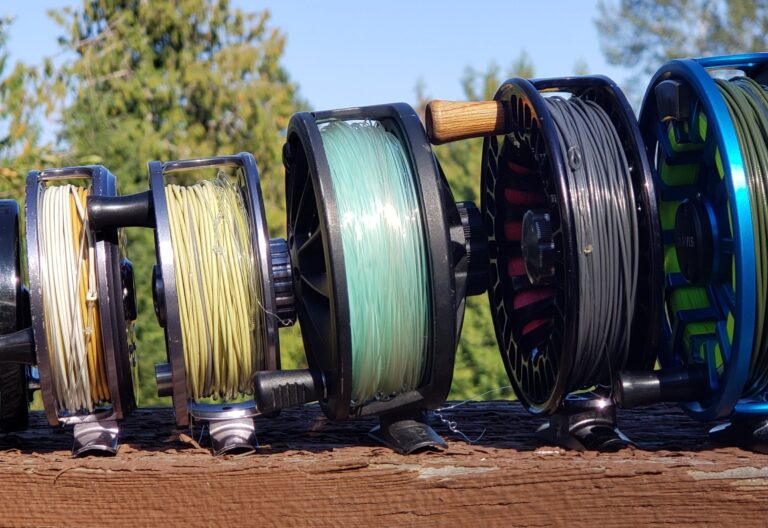
Essential fly fishing knots every angler should know are the clinch knot, improved clinch knot, palomar knot, and blood knot. Mastering these knots is essential for any angler’s success on the water.
As a fly fisherman, the right knot can be the difference between landing a big catch or coming up empty-handed. Every angler should have a strong understanding of the essential knots needed for fly fishing. The clinch knot is the most commonly used and is simple to tie.
The improved clinch knot is stronger and more reliable than the regular clinch knot. The palomar knot is ideal for attaching a fly to a tippet, and the blood knot is perfect for attaching two leaders together. By mastering these essential fly fishing knots, anglers can increase their chances of success on the water.

Credit: fishingvertex.com
Types Of Knots For Fly Fishing
Fly fishing is an excellent way to relax, have fun and catch some fish. However, to become a proficient fly angler, you need to learn the essential skills to make the perfect fishing knot. Tying knots for fly fishing requires patience, practice, and a good understanding of different types of knots.
Here’s what you need to know about the types of knots for fly fishing.
Arbor Knot
The arbor knot is one of the first knots every angler should learn. It is essential for tying fishing line to the reel spool. Here are some essential points you need to know about the arbor knot:
- Step 1: Wrap the fishing line around the spool of the reel.
- Step 2: Tie an overhand knot in the tag end of the line.
- Step 3: Tie another overhand knot in the tag end.
- Step 4: Pull the line tight, and the knot will lock against the spool.
Albright Knot
The albright knot is an excellent choice for joining different kinds of fishing lines. Here are some essential points you need to know about the albright knot:
- Step 1: Overlap the two lines you wish to join.
- Step 2: Wrap the tag end of the leader around the mainline x number of times.
- Step 3: Pass the tag end of the leader back through the formed loop.
- Step 4: Bring the same tag end over the knot and back down through the loop you just formed.
- Step 5: Tighten the knot by pulling on both the mainline and the tag end.
Clinch Knot
The clinch knot is the most common knot for attaching the fly to the leader. It’s easy to learn and holds fast. Here are some essential points you need to know about the clinch knot:
- Step 1: Pass the end of the leader through the eye of the hook.
- Step 2: Wrap the tag end of the leader around the mainline five or six times.
- Step 3: Pass the tag end through the loop you created above the eye.
- Step 4: Wet the knot and pull the standing line and tag end to tighten and secure the knot.
Davy Knot
The davy knot is a quick and easy option for tying small flies to the tippet. Here are some essential points you need to know about the davy knot:
- Step 1: Double the tippet and pass it through the eye of the hook.
- Step 2: Tie an overhand knot in the doubled line, leaving a bit of slack.
- Step 3: Pass the fly through the loop twice.
- Step 4: Tighten the knot by pulling on the tag end while holding the fly.
Double Surgeon’S Loop
The double surgeon’s loop is an easy to tie knot which is ideal for attaching hooks and flies to the leader. Here are some essential points you need to know about the double surgeon’s loop:
- Step 1: Double the end of your line and create a loop by overlapping the two ends.
- Step 2: Tie a simple overhand knot and tighten it to create a fixed loop.
- Step 3: Take the tag end and pass it through the loop twice.
- Step 4: Wet the knot before pulling it tight by gripping the standing line and tag ends.
Improved Clinch Knot
The improved clinch knot is a better version of the clinch knot and is suitable for attaching the hook or fly to the leader. Here are some essential points you need to know about the improved clinch knot:
- Step 1: Pass the end of the leader through the eye of the hook.
- Step 2: Wrap the tag end of the leader around the mainline five or six times.
- Step 3: Pass the tag end back through the loop above the eye, creating an additional loop.
- Step 4: Pass the tag end through this newly-formed loop, moisten the knot and tighten the knot against the eye.
Nail Knot
The nail knot is useful for attaching the fly line to the backing line. Here are some essential points you need to know about the nail knot:
- Step 1: Tie a simple overhand knot in the backing line.
- Step 2: Slip the leader or fly line through the backing loop and hold them side by side.
- Step 3: Take a fine object such as a nail or a tube, and hold it tightly against both lines near the overhand knot.
- Step 4: With the tool held in place, wrap the tag end around both lines and the tool at least five or six times.
- Step 5: Slip the tag back through the tube or off the nail, moisten the knot, and pull both the standing line and tag end to tighten it.
Perfection Loop
The perfection loop is the best option for creating a loop of fixed size that is strong and reliable. Here are some essential points you need to know about the perfection loop:
- Step 1: Make a simple loop at the tag end of the line.
- Step 2: Hold the loop, and bring the tag end around the standing line, crossing over itself.
- Step 3: Wrap the tag end around the standing line three or four times.
- Step 4: Take the tag end back through the simple loop, bringing it out the same end from which it went in.
- Step 5: Moist the knot and pull the tag end and standing line to tighten it.
Surgeon’S Knot
The surgeon’s knot is an easy-to-tie knot, great for joining two pieces of tippet or tying leaders to fly lines. Here are some essential points you need to know about the surgeon’s knot:
- Step 1: Lay the two pieces of tippet down parallel to each other, with an overlap of several inches, and make a loop with the two pieces.
- Step 2: Hold the loop and bring the two tag ends together to create two overhand knots.
- Step 3: Take one of the tag ends and pass it through the loop from behind.
- Step 4: Bring the same tag end over the opposite strand of line and back through the loop.
- Step 5: Tighten the knot by pulling the tag ends and the standing lines in opposite directions.
Blood Knot
The blood knot is a great knot to connect two different types of lines together. Here are some essential points you need to know about the blood knot:
- Step 1: Overlap two lines facing opposite directions.
- Step 2: Make four or five wraps around the doubled lines with the first tag end, starting at the overlap.
- Step 3: Wrap the second tag end in the opposite direction, making four or five wraps up until the overlap point.
- Step 4: Bring both tag ends through the previously created loop.
- Step 5: Moist the knot and pull both tag ends to tighten the knot.
Knowing the right kinds of knots for fly fishing is critical in becoming a successful angler. With this guide, you have the knowledge to tie strong and reliable knots that will make a huge difference when you’re out on the water.
Practice these essential fly fishing knots until you can tie them with confidence, and you’ll be ready to catch some fish in no time. Happy fishing!
How To Tie Fly Fishing Knots
Essential Fly Fishing Knots Every Angler Should Know: How To Tie Fly Fishing Knots
Fly fishing is a popular and exciting outdoor activity that requires some specific skills. One of the most essential abilities for fly anglers is tying knots. Whether you are a beginner or an experienced angler, knowing how to tie effective knots is critical for a successful fishing trip.
In this section, we will discuss the tools and materials needed for knot tying, step-by-step instructions for tying each type of knot, common mistakes to avoid while tying knots, and tips and tricks for successful knot tying.
Tools And Materials Needed For Knot Tying
Before you learn how to tie fly fishing knots, you need to gather the essential tools and materials necessary for the job. We have listed them below:
- Fly fishing line
- Tippet material
- Fishing flies
- Nail knot tool
- Hemostats or pliers
- Fly tying scissors
- Knot tying board or surface
Step-By-Step Instructions For Tying Each Type Of Knot
Here are the instructions for tying the most essential fly fishing knots:
1. Improved Clinch Knot
- Pass the end of the line through the hook eye.
- Make five or six twists around the line and pass the end of the line through the small loop that you have created.
- Pass the end of the line through the big loop formed by the twists.
- Wet the knot and tighten it by pulling both ends of the line.
2. Blood Knot
- Take two lines and overlap them.
- Take one tag end and wrap it around the other line 5 to 6 times.
- Pass the tag end through the loop created by the wrapped line and then pass it through the second loop.
- Repeat the same steps with the other tag end using the opposite direction.
- Wet the knot and tighten it by pulling both ends of the line.
3. Nail Knot
- Take your nail knot tool and insert the fly line through it.
- Place your tippet over the nail knot tool.
- Wrap the tippet and the fly line around the nail knot tool 5 to 6 times.
- Slide the knot off the tool and insert the end of the tippet through the middle of the knot.
- Wet the knot and tighten it by pulling both ends of the line.
Common Mistakes To Avoid While Tying Knots
Knot tying is a precise skill that requires attention to detail. Here are some common mistakes to avoid while tying knots:
- Too many or too few twists
- Not using enough lubrication
- Not tightening the knot enough
- Not trimming the tag ends properly
Tips And Tricks For Successful Knot Tying
To become an expert at knot tying, take note of these helpful tips:
- Practice knot tying on a flat, clean surface.
- Use high-quality materials for better knot strength.
- Wet the knot to prevent friction-related breakage.
- Cut tag ends as close to the knot as possible.
By following these instructions and tips, you’ll be able to tie strong and effective knots for your fly fishing adventures. Happy fishing!
Importance Of Choosing The Right Knot
Matching The Knot To The Fishing Situation
When it comes to fly fishing, a well-tied knot can make the difference between landing that trophy fish or watching it swim away. Different fishing situations require different knots, so it’s important to know which knot to use for each one.
Here are some key points to keep in mind when matching the knot to the fishing situation:
- Consider the strength of the fishing line and the size of the hook
- Choose a knot that’s appropriate for the type of fishing line you’re using
- Take into account the weight of the fly and the speed of the water
- Be mindful of the fish you’re targeting and their behavior
Tips For Selecting The Appropriate Knot For Different Fishing Scenarios
Selecting the right knot for any fishing situation can be daunting, but it’s a skill that’s worth honing. With practice, you’ll find the perfect knot for any scenario. Here are some tips for selecting the appropriate knot for different fishing scenarios:
- For light fishing lines and small hooks, use a knot that won’t slip, such as the improved clinch or turle knot
- For heavier lines and larger flies, use a knot that has a higher breaking strength, such as the palomar knot
- When fishing in windy conditions or strong currents, consider using a loop knot, such as the non-slip mono loop knot
- If you’re fishing with a tippet, use a knot that won’t weaken the line, such as the blood knot
The Impact Of Using The Wrong Knot On The Success Of Your Fishing Trip
Choosing the wrong knot can have a significant impact on the success of your fishing trip. Using the wrong knot can result in a weakened line, a lost fish, or even the loss of your entire setup. Here are some key things to keep in mind when it comes to the impact of using the wrong knot:
- The wrong knot can result in a difficult time casting, leading to missed opportunities
- It can also cause the line to break more easily, resulting in lost fish
- Certain knots can have negative impacts on the fly’s presentation
- Using the wrong knot can cause unnecessary frustration and reduce the overall enjoyment of the fishing experience
Selecting the right knot is essential for successful fly fishing. With these tips in mind, you’ll be better equipped to choose the appropriate knot for any fishing situation. Remember, practice makes perfect, so keep practicing your knot tying skills and your fishing trips will be more successful.
Conclusion
Mastering essential fly fishing knots is crucial for every angler. Knowing your knots and when to use them can make the difference between a successful or frustrating day on the water. The five knots discussed in this article include the improved clinch knot, blood knot, double surgeon’s knot, nail knot, and loop knot.
Each knot has its own unique purpose and benefits, and practicing tying them can save you time and frustration in the long run. Remember, the most important factor in knot tying is practice, practice, practice. With time and dedication, you’ll be able to tie these knots with ease and confidence and catch more fish.
So, grab some line and practice your knots – your fishing experience will thank you for it!


