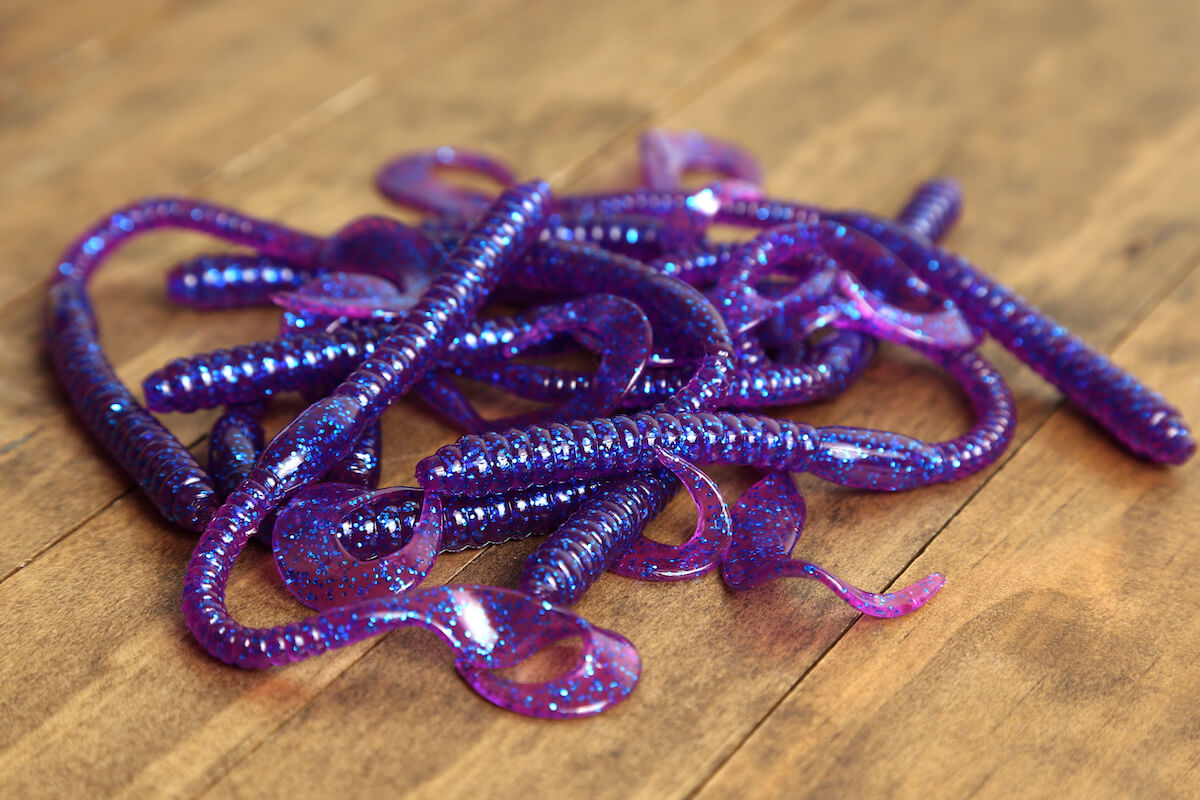
Fishing is a fun and relaxing activity. It’s even better with custom lures. You can make your own rubber fishing lures at home. It’s easy and enjoyable. Plus, you can save money.
Why Make Your Own Rubber Fishing Lures?
There are many reasons to make your own lures:
- Save money on fishing gear.
- Create custom designs that fish love.
- Have fun and learn a new skill.

Credit: www.gameandfishmag.com
Materials You Need
Before you start, gather these materials:
- Liquid rubber or soft plastic
- Molds for the lures
- Color pigments
- Glitter (optional)
- Mixing cups and sticks
- Microwave or stove
- Protective gloves
Step-by-Step Guide
1. Choose Your Lure Design
Think about what kind of fish you want to catch. Different fish like different lures. You can find many designs online. Pick one that looks good to you.
2. Prepare Your Workspace
Find a clean, flat surface to work on. Cover it with old newspapers or a plastic sheet. This will protect your table from spills. Make sure you have good ventilation. Wear protective gloves to keep your hands safe.
3. Prepare The Mold
Get your mold ready. You can buy molds online or make your own. If you make your own, use clay or silicone. Make sure the mold is clean and dry. This will help your lures come out smoothly.
4. Mix The Liquid Rubber
Pour the liquid rubber into a mixing cup. Follow the instructions on the package. Add color pigments to the rubber. You can mix different colors to create unique lures. Stir the mixture well with a stick. You can also add glitter for extra sparkle.
5. Heat The Mixture
Heat the mixture in a microwave or on a stove. Be careful not to overheat it. Stir the mixture every 30 seconds. This will help it heat evenly. When it’s ready, it should be smooth and easy to pour.
6. Pour The Mixture Into The Mold
Carefully pour the heated mixture into the mold. Fill the mold completely. Tap the mold gently to remove air bubbles. This will give your lures a smooth finish.
7. Let The Lures Cool
Allow the lures to cool and harden. This can take a few hours. Be patient. Do not touch the lures until they are fully set. Once they are cool, remove them from the mold.
8. Trim And Finish The Lures
Use scissors to trim any excess rubber. Make sure the edges are smooth. You can also add details with a marker. Your lures are now ready to use!
Tips for Success
- Experiment with different colors and designs.
- Keep your workspace clean and organized.
- Always wear protective gloves when handling hot rubber.
- Store your lures in a cool, dry place.

Credit: www.youtube.com
Frequently Asked Questions
What Materials Are Needed For Making Rubber Fishing Lures?
You will need liquid rubber, molds, dyes, and a heat source.
How Do You Create Molds For Rubber Lures?
Use silicone or plaster to create molds from existing lures.
Can You Add Scents To Rubber Fishing Lures?
Yes, you can mix scent additives into the liquid rubber.
How Long Does It Take To Make A Rubber Lure?
It usually takes about 30 minutes to an hour.
Conclusion
Making your own rubber fishing lures is fun and rewarding. You can create custom lures that fish love. Plus, you can save money. Follow these steps and tips to make your own lures. Happy fishing!


