Do you love fishing from your kayak? A fish finder can help you catch more fish. This guide will show you how to mount a fish finder on a kayak. It is easy to follow and perfect for beginners.
What You Will Need
Before you start, gather these tools and materials:
- Fish Finder
- Mounting Bracket
- Drill
- Screws
- Marine Sealant
- Zip Ties
- Battery
Steps to Mount a Fish Finder
Step 1: Choose The Right Spot
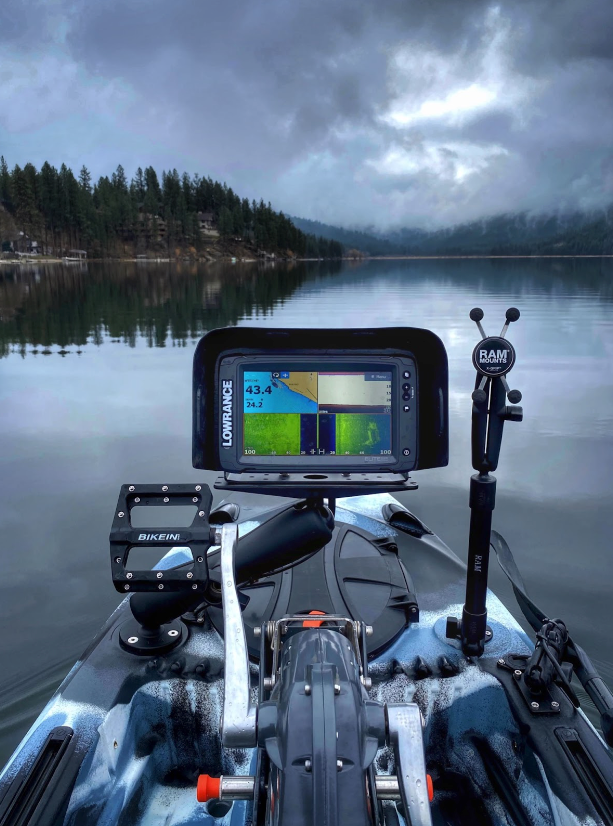
First, you need to choose the right spot on your kayak. The best place is near the seat. This way, you can see the screen easily. Make sure the spot is flat and smooth.
Step 2: Attach The Mounting Bracket
Now, attach the mounting bracket to your kayak. Place it on the spot you chose. Use a pencil to mark where the screws will go. Then, use a drill to make holes for the screws.
Be careful when drilling. You do not want to damage your kayak. Once you have drilled the holes, put the screws in place. Tighten them to secure the bracket.
Step 3: Apply Marine Sealant
Next, apply marine sealant around the screws. This will keep water from getting in. Let the sealant dry for a few hours. Follow the instructions on the sealant for the best results.
Step 4: Attach The Fish Finder
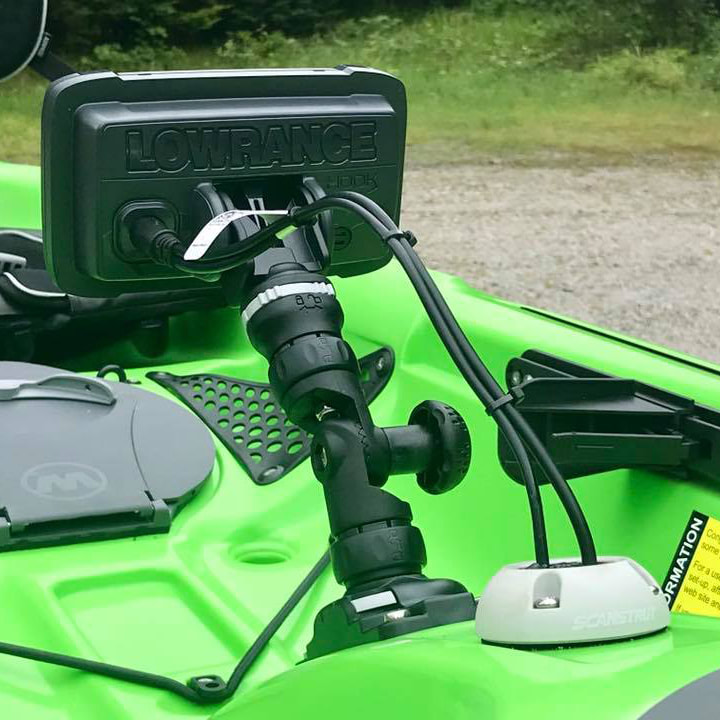
Now, it is time to attach the fish finder to the bracket. Follow the instructions that came with your fish finder. Most fish finders will snap or slide into place.
Step 5: Run The Cables
After attaching the fish finder, you need to run the cables. These cables connect the fish finder to the battery. Run the cables along the side of your kayak.
Use zip ties to keep the cables in place. Do not let the cables hang loose. They could get caught on something while you are fishing.
Step 6: Connect To The Battery
Finally, connect the cables to the battery. Make sure the connections are secure. You do not want the cables to come loose while you are on the water.
Most fish finders come with a battery holder. Place the battery in the holder and secure it. Make sure the battery is safe and will not move around.

Credit: www.kayakfishing.blog
Testing Your Fish Finder
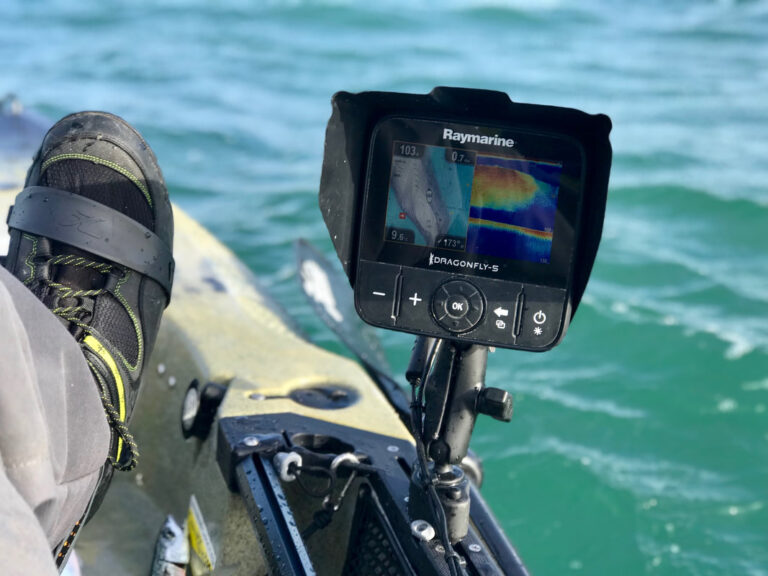
Now that your fish finder is mounted, it is time to test it. Turn on the fish finder and make sure it is working. Check the screen and make sure you can see it clearly.
Take your kayak to the water and test the fish finder. Paddle around and see if it shows fish. If everything is working, you are ready to go fishing!

Credit: www.feelfreeus.com
Tips for Using a Fish Finder
Here are some tips to help you get the most out of your fish finder:
- Read the manual that came with your fish finder. It will have important information.
- Keep the screen clean. Wipe it with a soft cloth.
- Check the battery before each trip. Make sure it is fully charged.
- Learn how to read the fish finder screen. Practice makes perfect.
Frequently Asked Questions
What Tools Do I Need To Mount A Fish Finder On A Kayak?
You need a drill, screws, mount, and fish finder.
Where Should I Place The Fish Finder On A Kayak?
Place it where you can see and reach it easily.
How Do I Power A Fish Finder On A Kayak?
Use a small, waterproof battery pack for power.
Can I Mount A Fish Finder Without Drilling?
Yes, use a suction cup or adhesive mount option.
Conclusion
Mounting a fish finder on a kayak is easy. Just follow the steps in this guide. Soon, you will be catching more fish than ever before. Happy fishing!

