
Installing a fish finder on your boat is a good idea. It helps you find fish easily. This guide will show you how to install a fish finder. Follow these steps for a smooth installation process.
Credit: www.boatus.com
Step 1: Choose the Right Fish Finder
First, you need to choose the right fish finder. There are many types available. Some are simple, while others have more features. Choose one that fits your needs and budget.
Step 2: Gather All Necessary Tools
Before you start, gather all the tools you will need. Here is a list of common tools:
- Fish finder unit
- Transducer
- Power drill
- Screwdrivers
- Marine sealant
- Zip ties
- Wire connectors
- Battery
- Mounting bracket
Credit: www.youtube.com
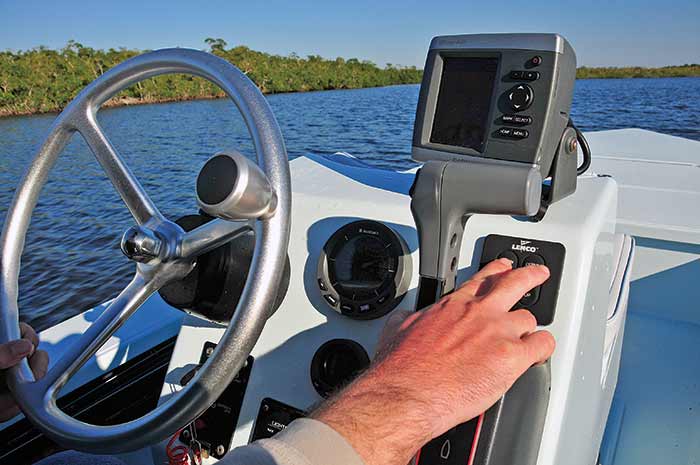
Step 3: Choose the Right Location
Next, choose the right location for your fish finder. It should be easy to see while you drive the boat. Also, it should not be in the way. A good spot is near the steering wheel.
Step 4: Install the Mounting Bracket
Now, it is time to install the mounting bracket. This will hold the fish finder. Follow these steps:
- Place the bracket where you want the fish finder.
- Mark the spots for the screws with a pencil.
- Drill holes for the screws.
- Attach the bracket with screws.
- Apply marine sealant to make it waterproof.
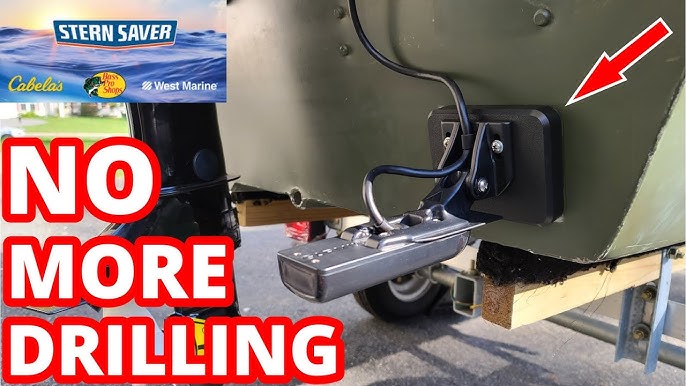
Step 5: Install the Transducer
The transducer sends and receives signals. It is important to install it correctly. Follow these steps:
- Choose a spot on the bottom of the boat.
- Make sure it is not near the engine.
- Clean the spot with alcohol.
- Apply marine sealant to the transducer.
- Attach the transducer with screws.
- Run the cable to the fish finder.
Step 6: Connect the Wires
Now you need to connect the wires. This will give power to the fish finder. Follow these steps:
- Connect the red wire to the positive terminal of the battery.
- Connect the black wire to the negative terminal of the battery.
- Use wire connectors to secure the wires.
- Make sure the connections are tight.
- Use zip ties to keep the wires neat.
Step 7: Test the Fish Finder
Once everything is connected, it is time to test the fish finder. Turn on the power. Check if the fish finder is working properly. If not, check the connections again. Make sure everything is secure.
Step 8: Adjust the Settings
Finally, adjust the settings on your fish finder. Set the depth, sensitivity, and other options. This will help you get the best results. Read the manual for more details on how to adjust the settings.
Tips for Better Performance
Here are some tips to help you get the most out of your fish finder:
- Keep the transducer clean.
- Check the connections regularly.
- Update the software when needed.
- Use the fish finder in different conditions to learn its features.
Frequently Asked Questions
What Tools Do I Need To Install A Fish Finder?
You’ll need a drill, screwdriver, and marine sealant. Some find zip ties useful.
Where Should I Mount The Fish Finder?
Install it where the screen is easily visible. Near the helm is best.
How Do I Power My Fish Finder?
Connect the fish finder to your boat’s battery. Use a fuse for safety.
How Do I Install The Transducer?
Mount it on the boat’s transom. Ensure it’s below the waterline.
Conclusion
Installing a fish finder on your boat is easy. Just follow these steps. Choose the right fish finder, gather the tools, and install it correctly. Soon, you will be finding fish with ease. Happy fishing!