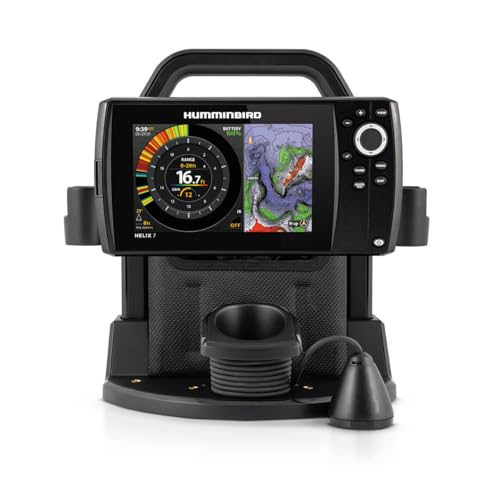
A fish finder is a useful tool for fishing. It helps you locate fish underwater. To use a fish finder, you need a power source. This guide will show you how to connect a fish finder to a battery. Follow these simple steps.
What You Will Need
- Fish finder
- Battery (usually 12 volts)
- Wires
- Wire connectors
- Wire stripper
- Electrical tape
- Fuse holder with fuse
Step-by-Step Guide
Step 1: Gather Your Materials
Make sure you have everything you need. Lay out all your materials on a clean surface.
Step 2: Choose The Right Battery
Most fish finders need a 12-volt battery. You can use a small sealed lead-acid battery or a marine battery.
Step 3: Prepare The Wires
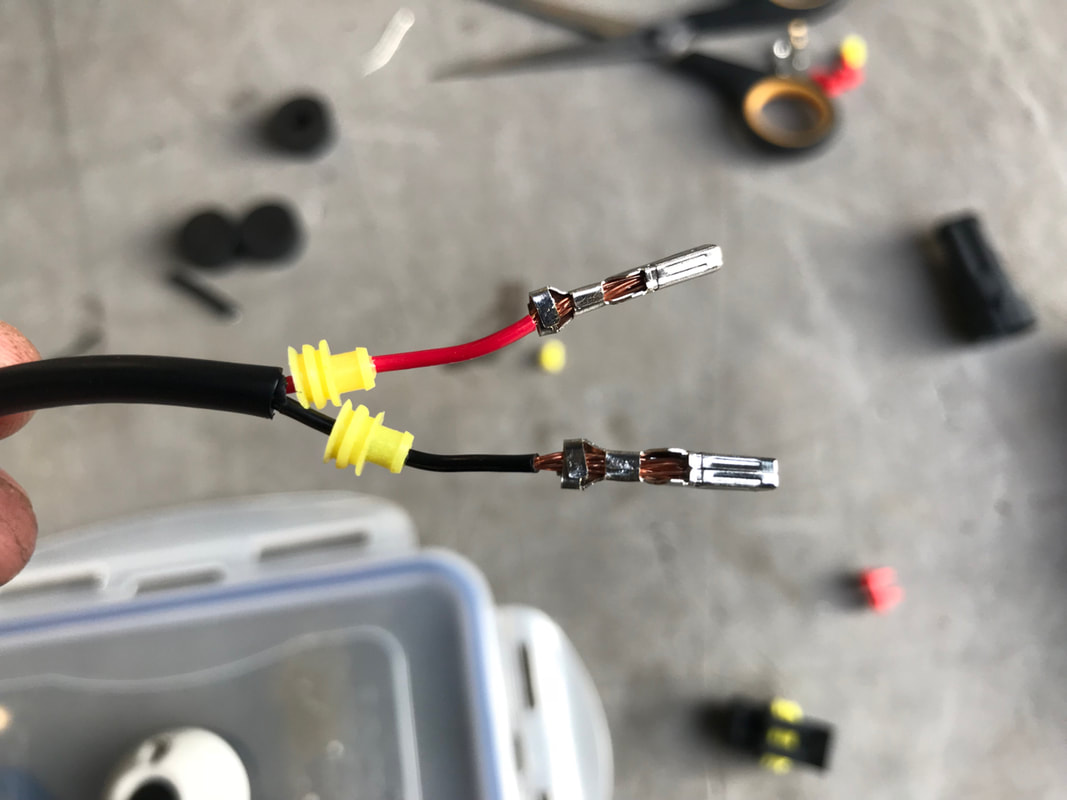
Cut the wires to the right length. They need to reach from the battery to the fish finder. Use the wire stripper to strip the ends of the wires. This will expose the metal inside.
Step 4: Connect The Fuse Holder
Take the red wire from the fish finder. Connect it to one end of the fuse holder. Use a wire connector to join them. Crimp the connector with a crimping tool. This ensures a secure connection. Insert the fuse into the fuse holder.
Step 5: Attach Wires To Battery
Connect the other end of the fuse holder to the positive terminal of the battery. This is usually marked with a plus (+) sign. Attach the black wire from the fish finder to the negative terminal of the battery. This is marked with a minus (-) sign. Use wire connectors to make the connections secure.
Step 6: Secure The Connections
Wrap the wire connectors with electrical tape. This will keep the connections safe and prevent short circuits.
Step 7: Connect The Fish Finder
Plug the other end of the wires into the fish finder. The red wire goes to the positive terminal. The black wire goes to the negative terminal.
Step 8: Test The Connection
Turn on the fish finder. Check if it is working properly. If it does not turn on, check the connections. Make sure everything is secure. Also, check the fuse. Replace it if necessary.

Credit: www.kayakfishing.blog
Tips for Safe Connection
- Always use a fuse. It protects your fish finder from power surges.
- Make sure the battery is fully charged.
- Keep the wires neat and organized.
- Check the connections regularly for any signs of wear.
- Store the battery in a cool and dry place.

Credit: www.furuno.com
Frequently Asked Questions
How Do I Connect A Fish Finder To A Battery?
Connect the positive wire to the positive terminal. Connect the negative wire to the negative terminal.
What Tools Do I Need To Connect A Fish Finder?
You need a wrench, screwdriver, and wire connectors. Basic tools for easy installation.
Can I Use Any Battery For My Fish Finder?
Use a 12-volt battery. Check the fish finder’s manual for specific recommendations.
How Do I Secure The Wires To The Battery?
Use wire connectors or terminal rings. Ensure a tight, secure connection to avoid disconnection.
Conclusion
Connecting a fish finder to a battery is easy. Follow the steps outlined in this guide. Make sure to use the right materials. Keep your connections secure. With a little effort, your fish finder will be up and running in no time. Happy fishing!


